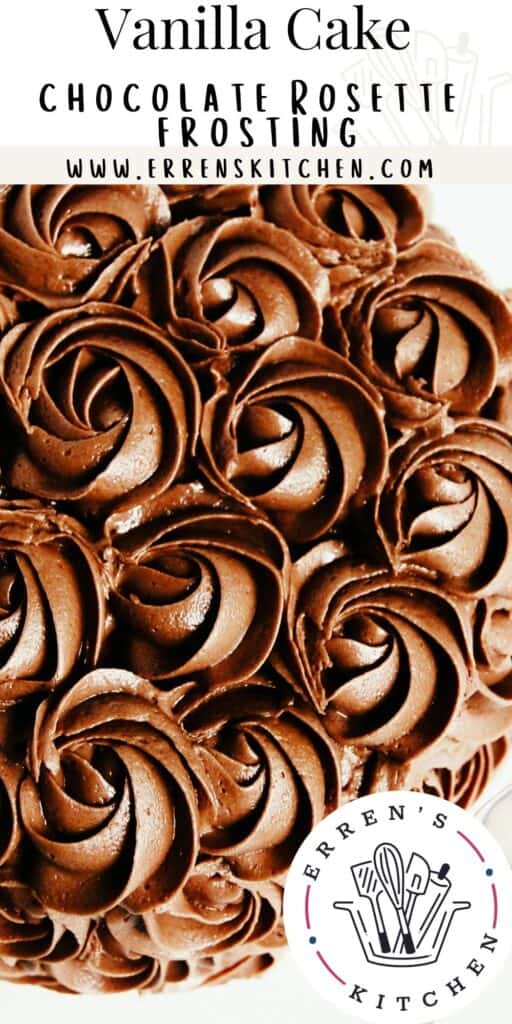
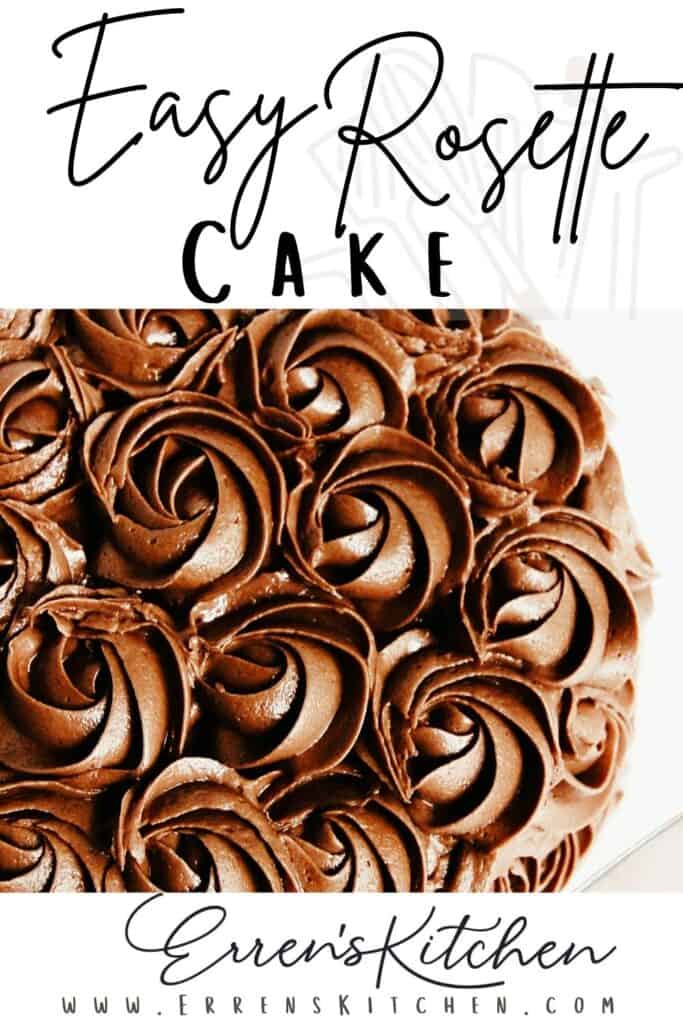
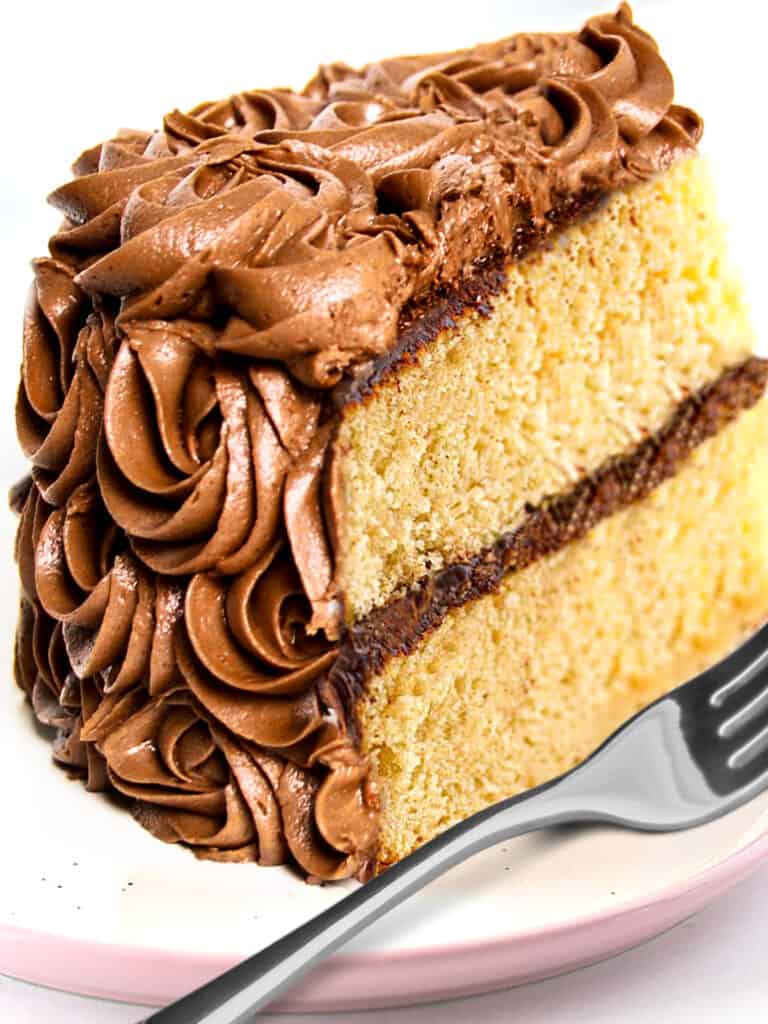
You can’t go wrong with this beautiful rosette cake! It’s perfect for anything from birthdays to weddings. Every bite will bring a taste of nostalgia. Let’s put aside how beautiful this cake is for a second to talk about how delicious it is! When my son tried it for the first time, he was five years old. He took one bite and actually did a little dance because he said a cake that good deserves a dance! The cake itself is rich, moist & fluffy, and the frosting is velvety smooth, with the perfect amount of sweetness.
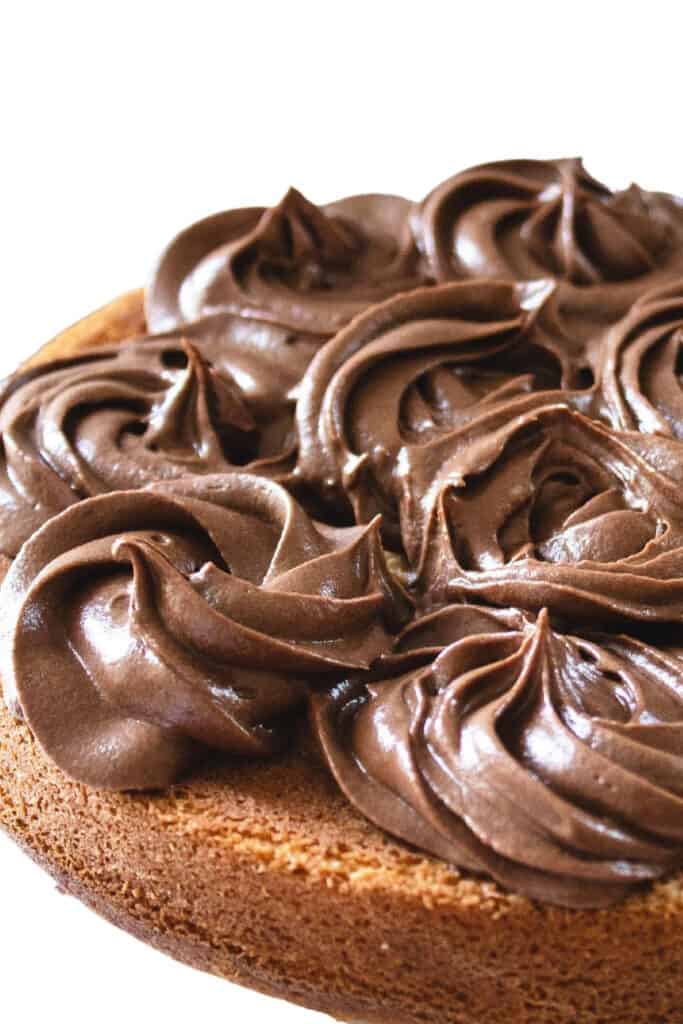
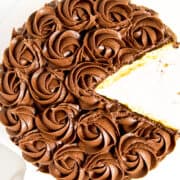
Piping Rosettes
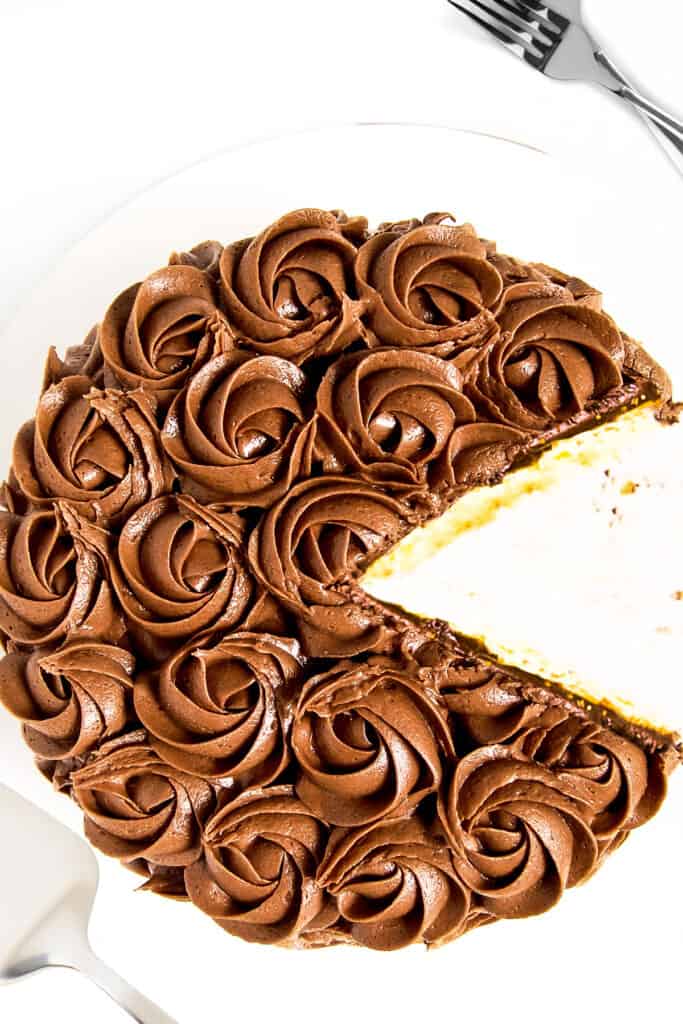
I just swirled them from the middle out. Nothing really fancy. You can check out my Easter Cupcakes video to demonstrate how it’s done. Read on for step-by-step instructions.
Step By Step Instructions
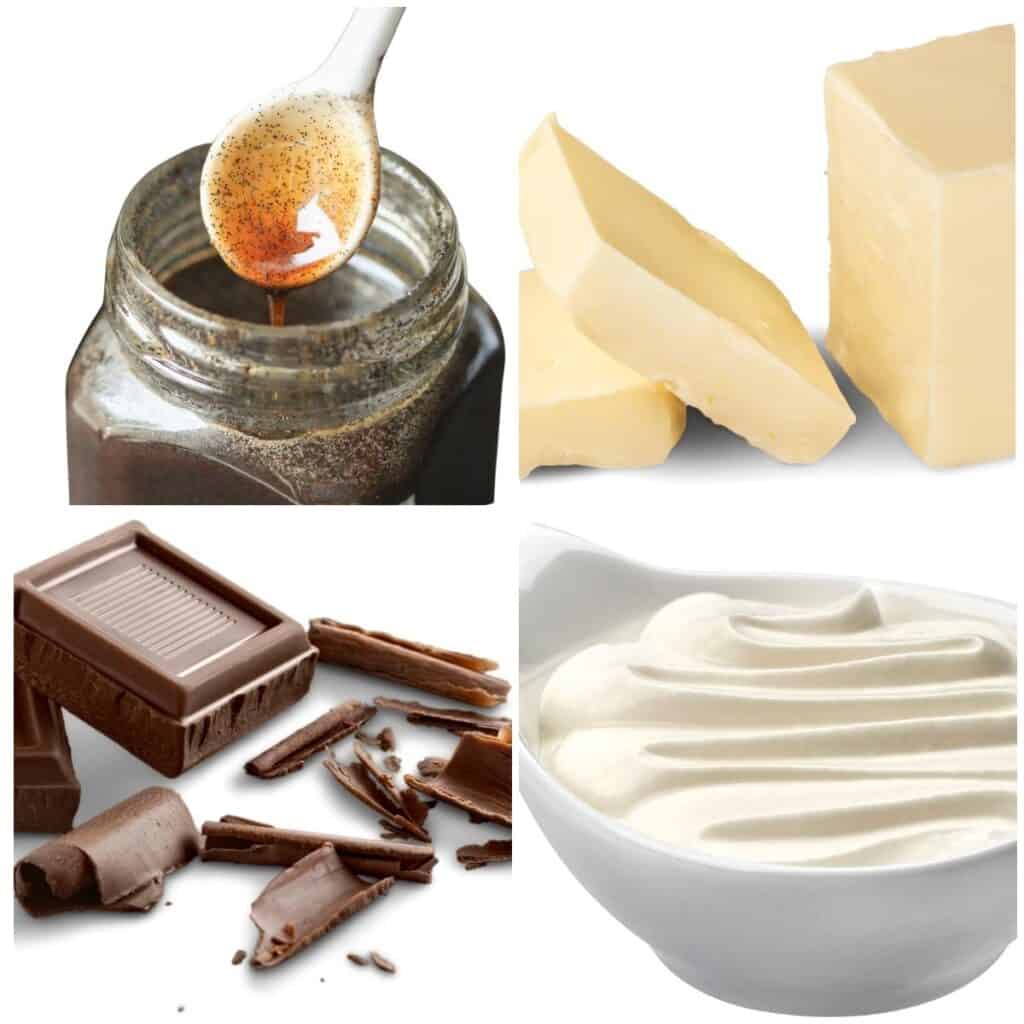
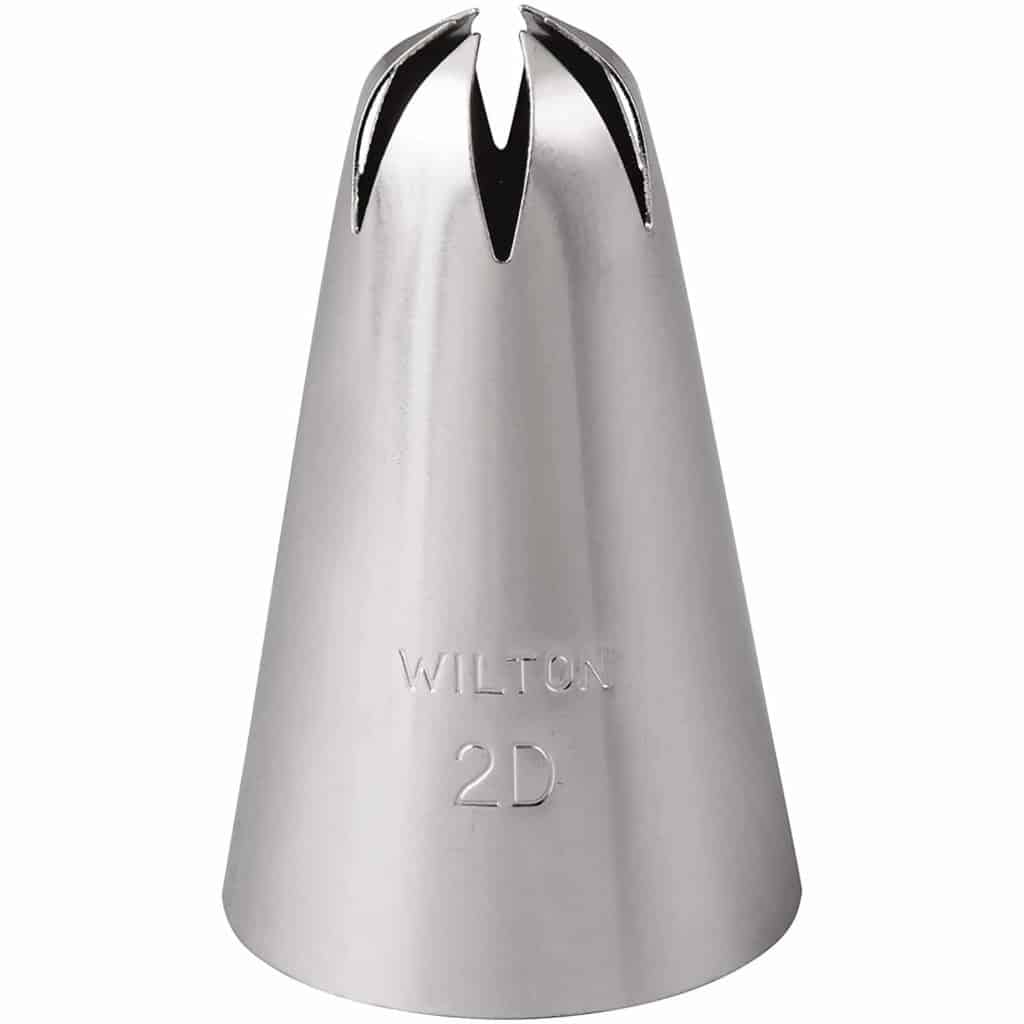
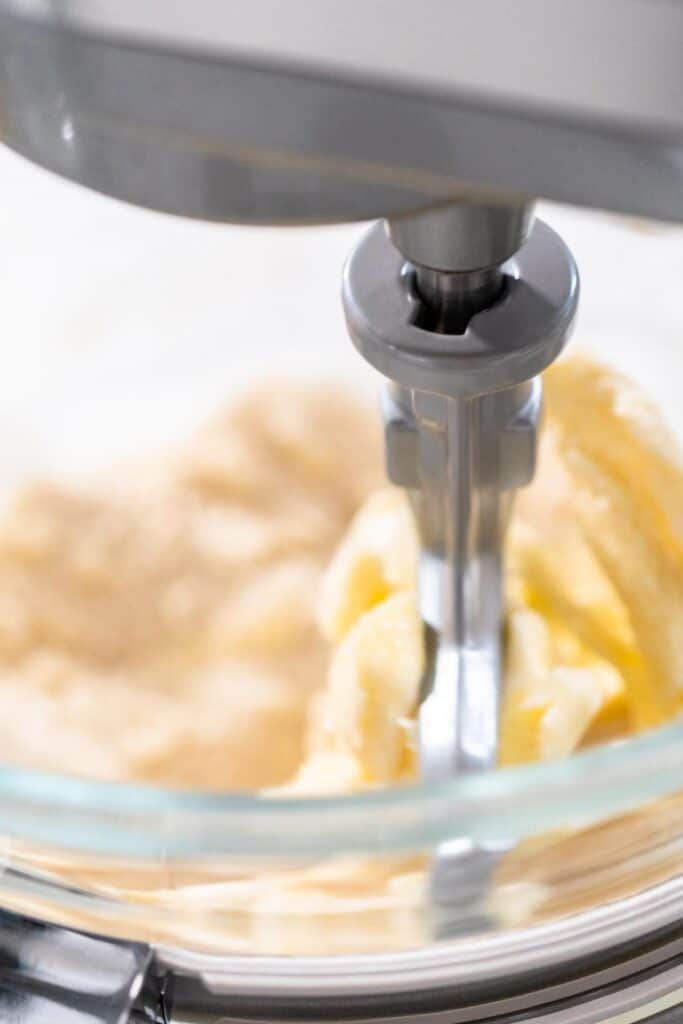
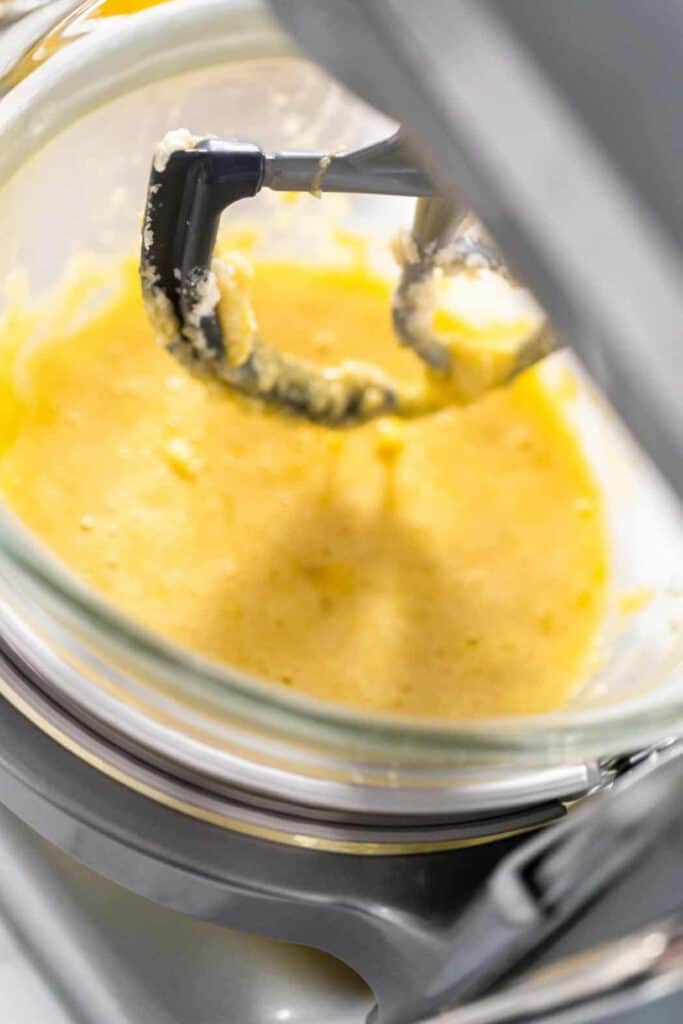
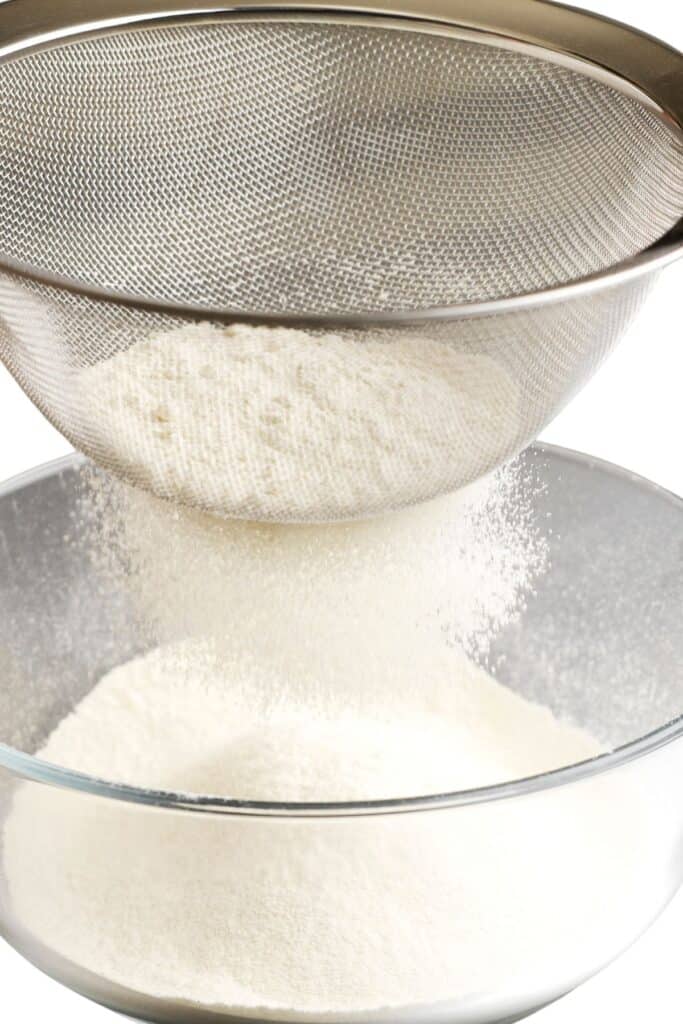
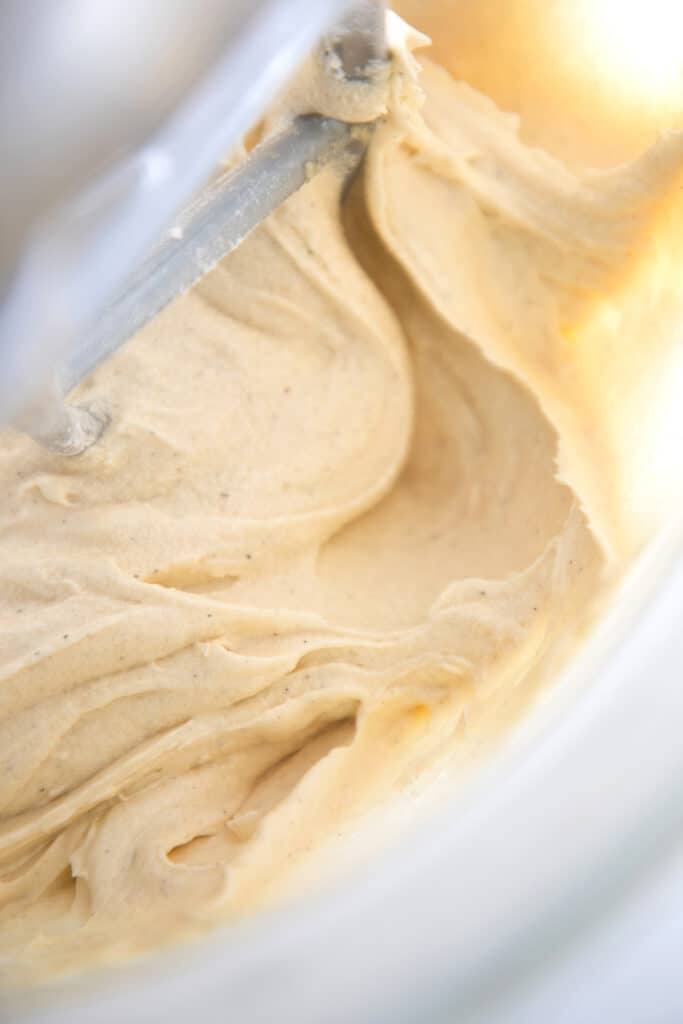
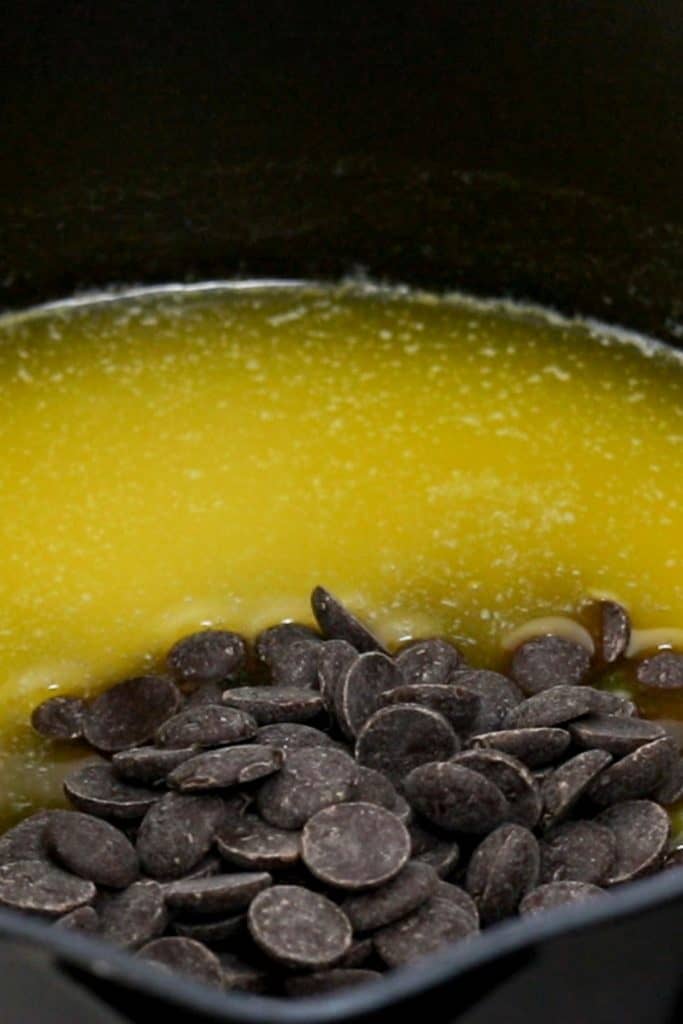
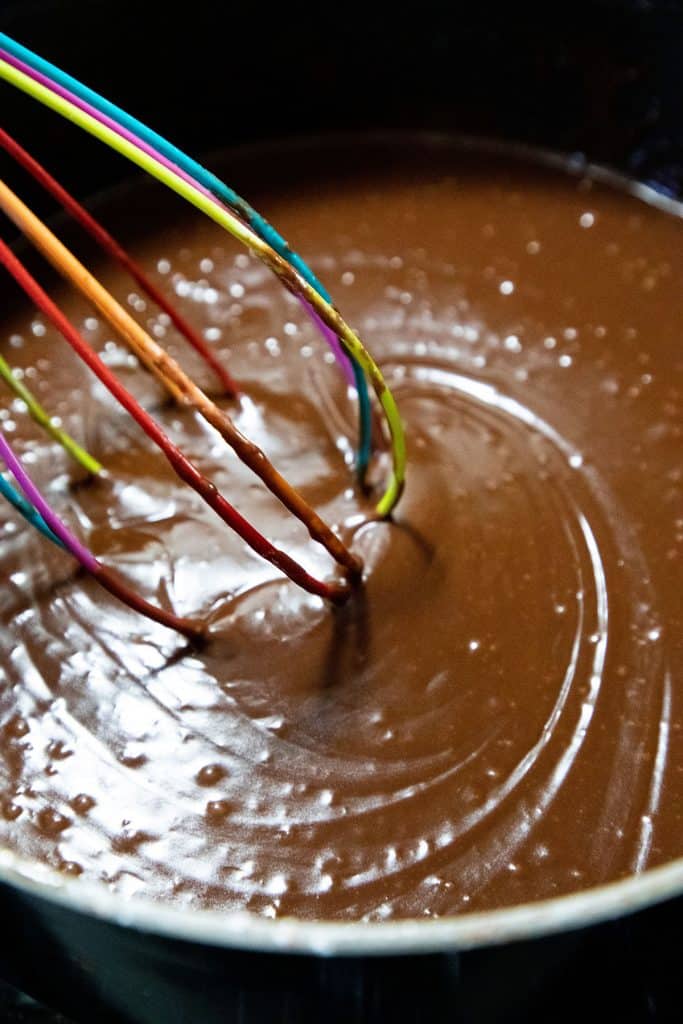
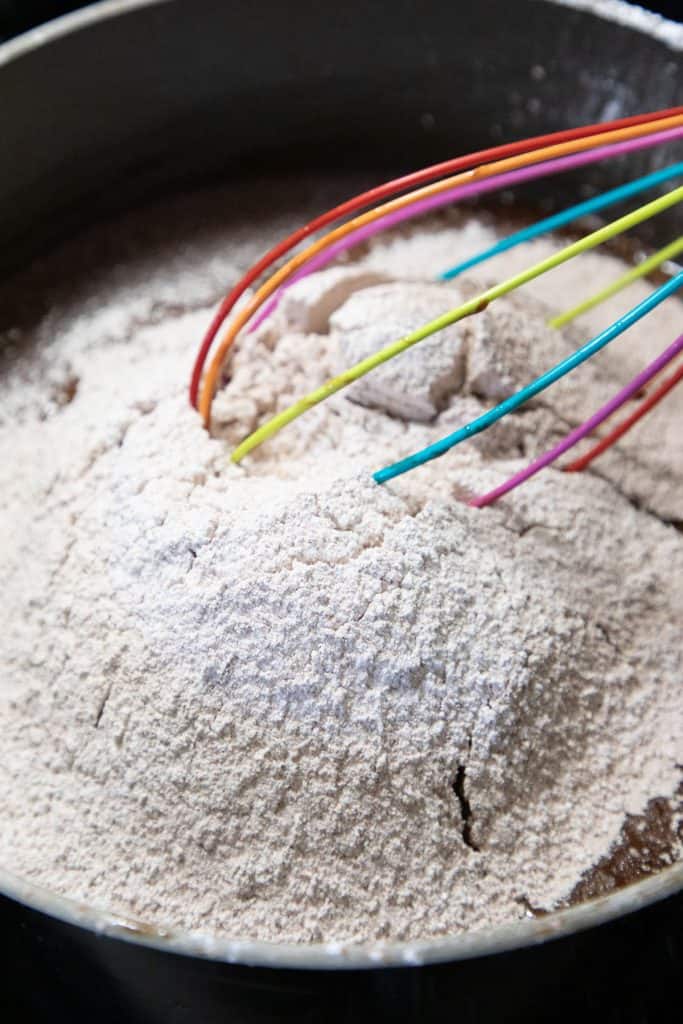
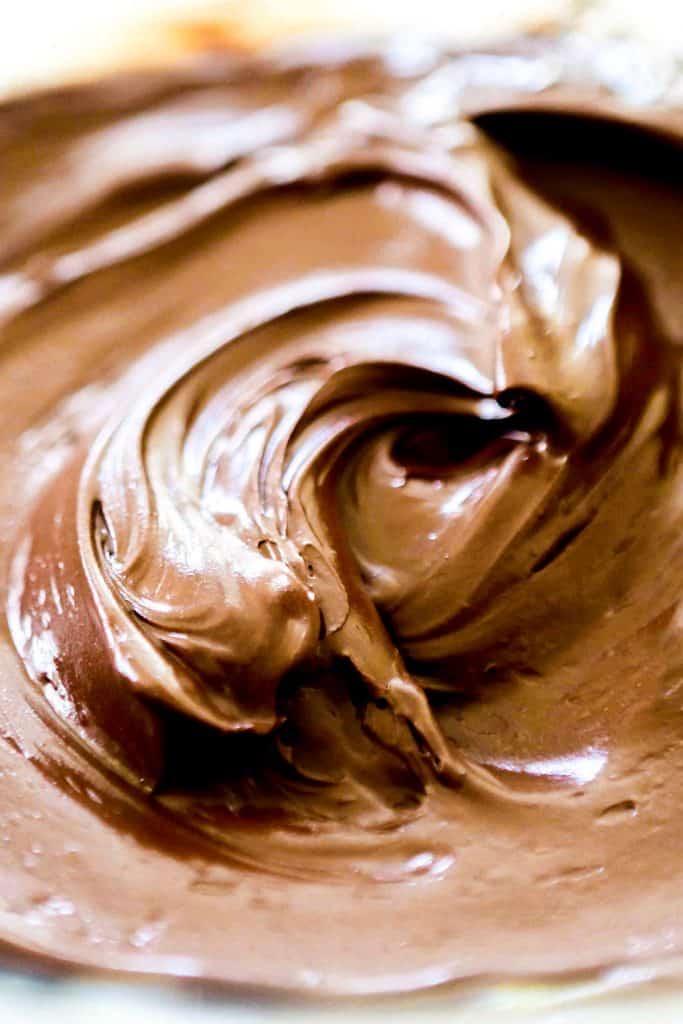
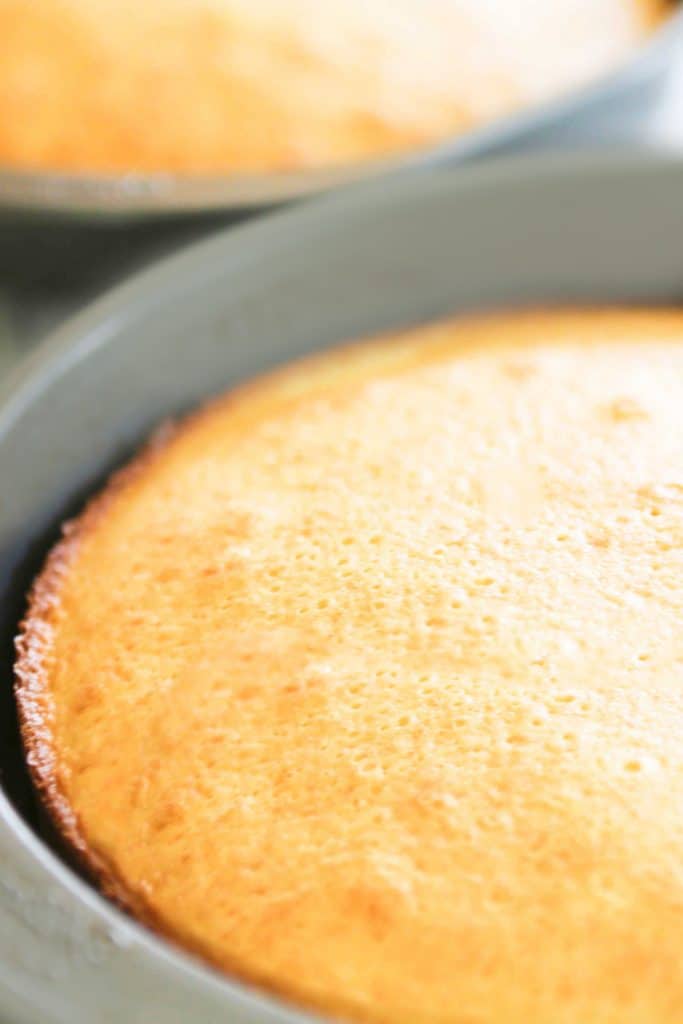
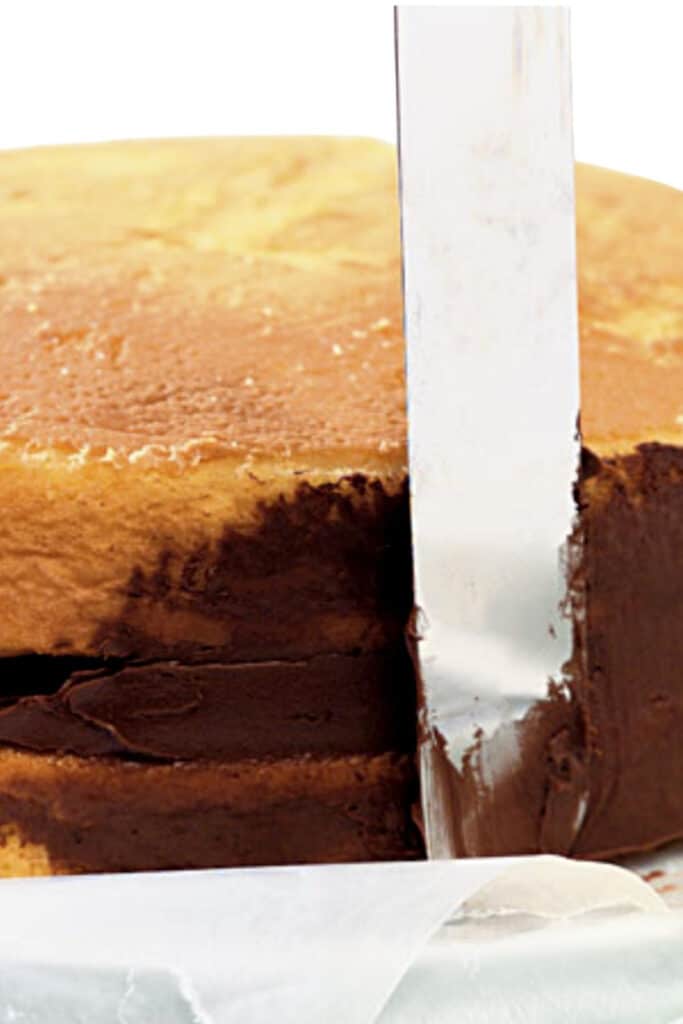
Preheat the oven to 350°F/177°C and grease two 8-inch round cake pans. Beat the butter and sugar until the mixture is light and fluffy. I beat mine for a minimum of 3 minutes. Add the eggs and vanilla extract and blend well until incorporated. I sift the flour with baking powder and salt because I think it makes a lighter cake, but this step is totally optional. Add the dry ingredients to the butter mixture in two additions, alternating with the buttermilk. Divide the batter evenly between the two greased cake pans. Bake the cakes for 25-30 minutes or until a cake tester inserted in the center comes out clean. To make the frosting, melt the chocolate with butter over medium-low heat. Stir occasionally until all the chocolate has melted and the mixture is smooth. Remove it from the heat and allow the mixture to cool for about five minutes (you want it warm, but not hot). Whisk in the sour cream, vanilla, and salt. Sift the sugar and cocoa powder together to remove any lumps. Then add it to the chocolate mixture in the pot, one cup at a time. You may need a little more or less sugar for a spreadable thickness and consistency. When the cakes are baked, allow them to cool for 20 minutes before taking them out of the pan. Let them cool completely on a rack before frosting. Frost the cake with a thin layer of smooth frosting. Prepare a piping bag with Wilton 2D Tip using the remaining frosting. Hold the bag at a 90° angle (perpendicular) to your work surface. Spiral a rosette starting in the center of the swirl and working your way out. Once you get to the end, stop squeezing and pull away in the same direction you were piping. Start your rosettes at the bottom of the cake, and form rows of rosettes until the cake is completely covered. Serve and enjoy! Erren’s Kitchen is written and produced for informational intentions only. We are not certified nutritionists, and the nutritional information found on this site has not been assessed or authorized by a nutritionist or the FDA. The nutritional information found in our recipes is offered as an estimate and should not be considered a guarantee or fact. The estimated data is provided as a courtesy and calculated through a third-party online nutritional calculator, spoonacular API. Although we do our best to provide accurate nutritional information, these figures should be considered rough estimates. Many factors, such as brands or products purchased and the nutritional fluctuations that naturally occur in fresh produce, can alter the effectiveness of the nutritional information in any recipe. Furthermore, various online calculators provide different results depending on their particular algorithms and nutrition fact sources. To obtain the most precise nutritional information in a provided recipe, you should calculate the nutritional information with the exact ingredients you are using when preparing the recipe using your preferred nutrition calculator.