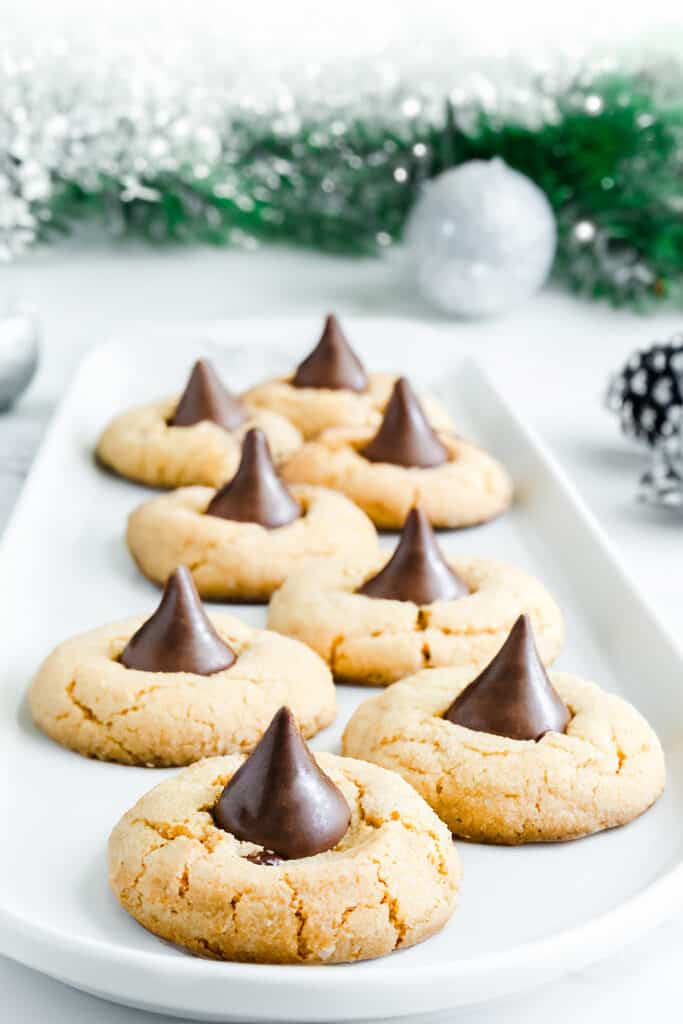
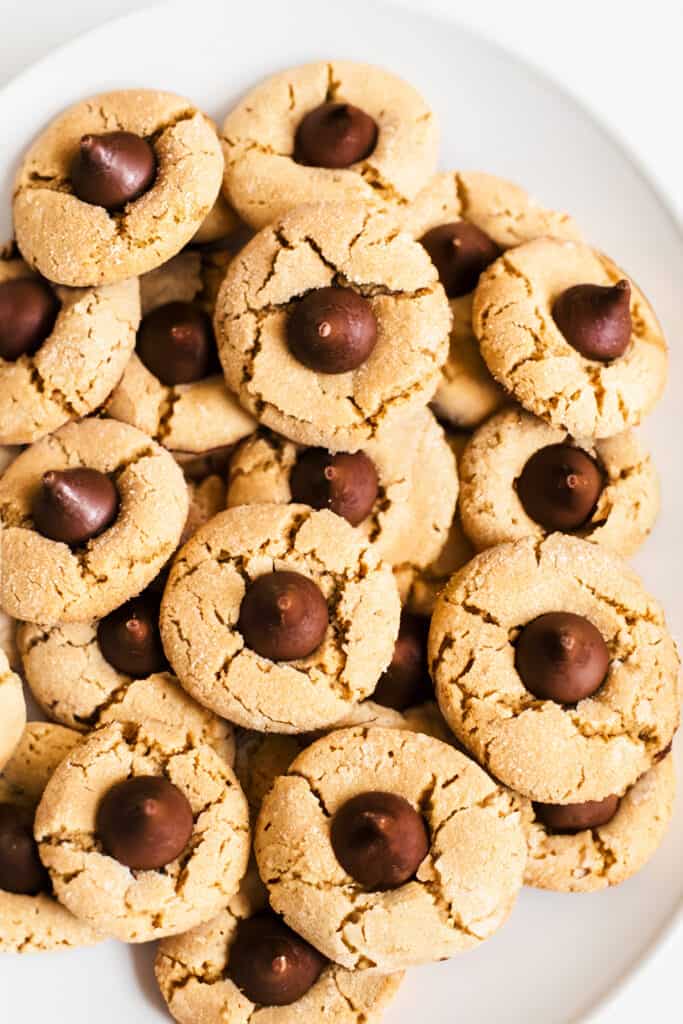
When the festive season rolls around, nothing says ‘happy holidays’ quite like a batch of cookies, and these Peanut Butter Kiss Blossom Cookies are the perfect example. This beloved classic combines the irresistible flavors of peanut butter and chocolate to create a cookie that’s as enjoyable to make as it is to eat.
Step By Step Instructions
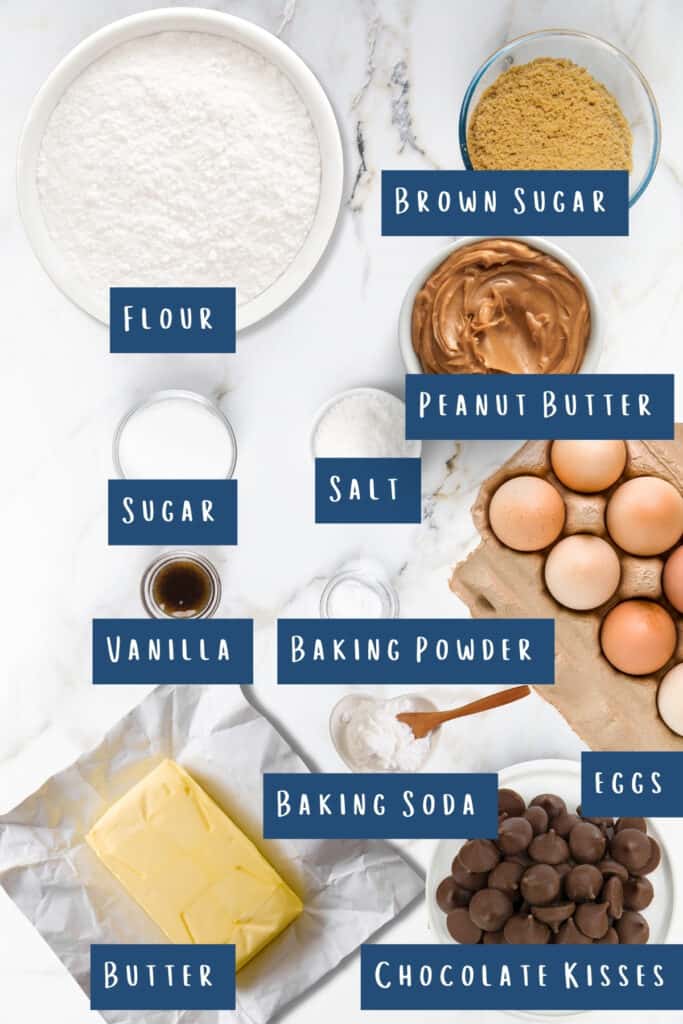
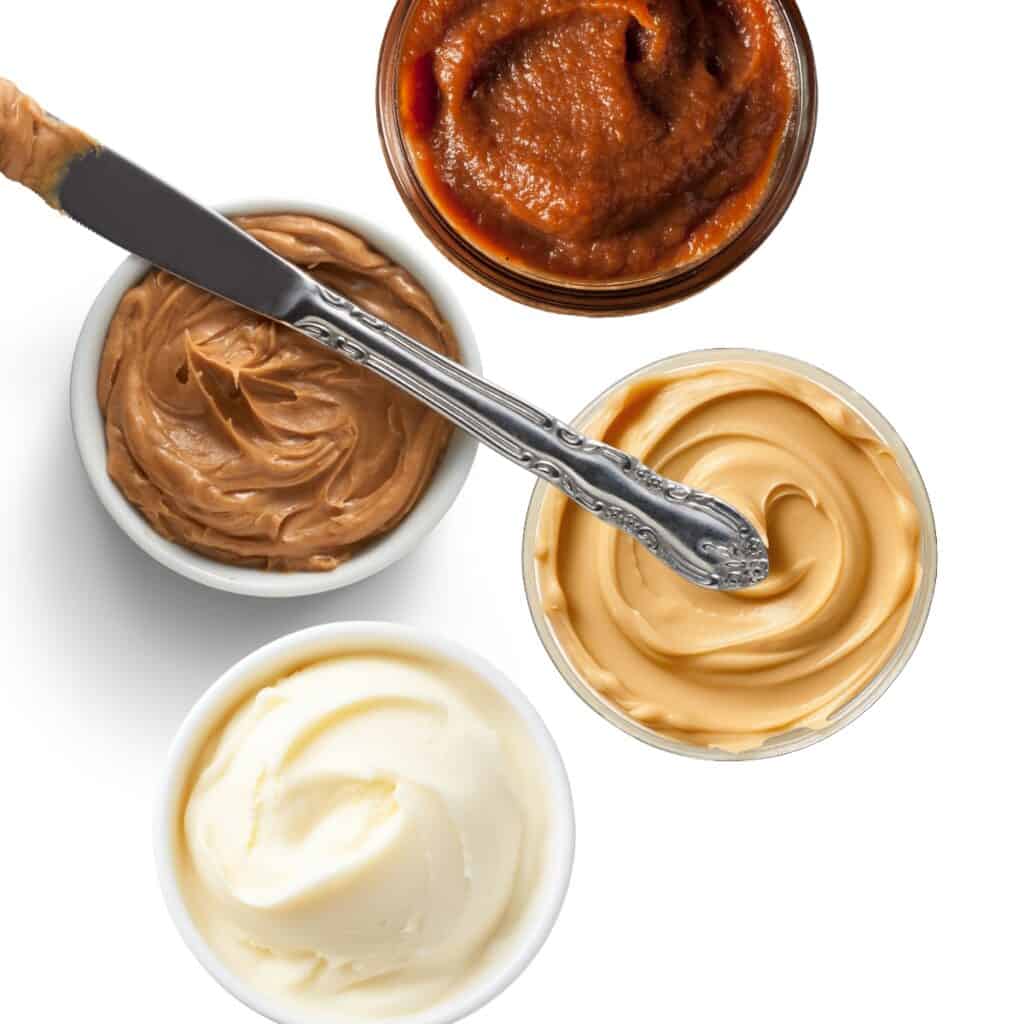
You can find the full, printable recipe at the bottom of this post (click the button above), but read on for detailed step-by-step instructions with photos for each step. Vanilla: Vanilla bean paste or vanilla extract are both good choices. In a pinch, vanilla flavoring can also be used.Sugars: A combination of granulated, dark brown, and light brown sugar add depth of flavor and sweetness. You can substitute dark brown with light and vise-versa. Egg: Use 1 large room-temperature egg to bind all our ingredients together.Butter: Choose unsalted butter to manage the overall salt level. If you opt for salted butter, cut the additional salt in half. If you prefer a dairy-free alternative, you can explore plant-based butter substitutes.Peanut Butter: The star of the show. Opt for processed peanut butter like Jif or Skippy for the best texture and flavor.Chocolate Kiss Candies: You’ll want to have Hershey’s Kisses chocolates on hand for this recipe. These iconic milk chocolate candies, with their distinctive shape, are the perfect topping. You can also use mini peanut butter cups for a different spin. Some substitutions include Biscoff spread, apple butter, or nut-free cookie butter. For a nuttier flavor, try sunflower seed butter or soy butter. These substitutes will provide a similar creamy texture without the allergenic properties of peanuts. Preheat your oven to 375°F (190°C), and if you’re not using a nonstick pan, prepare a baking sheet by lining it with parchment paper. This will prevent the cookies from sticking.
Preparing the Dough
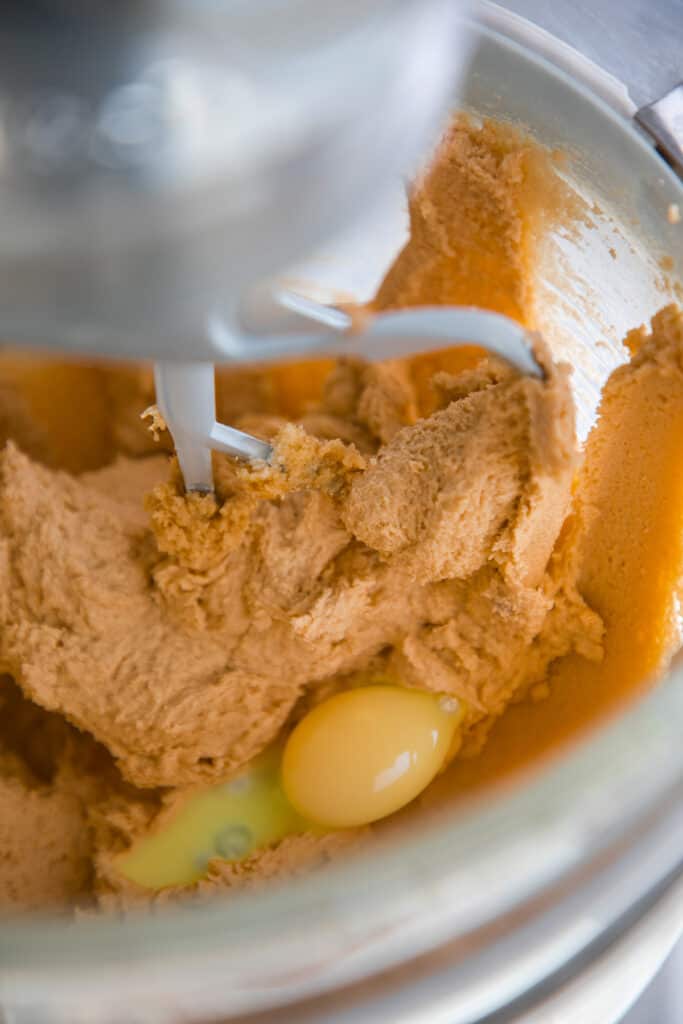
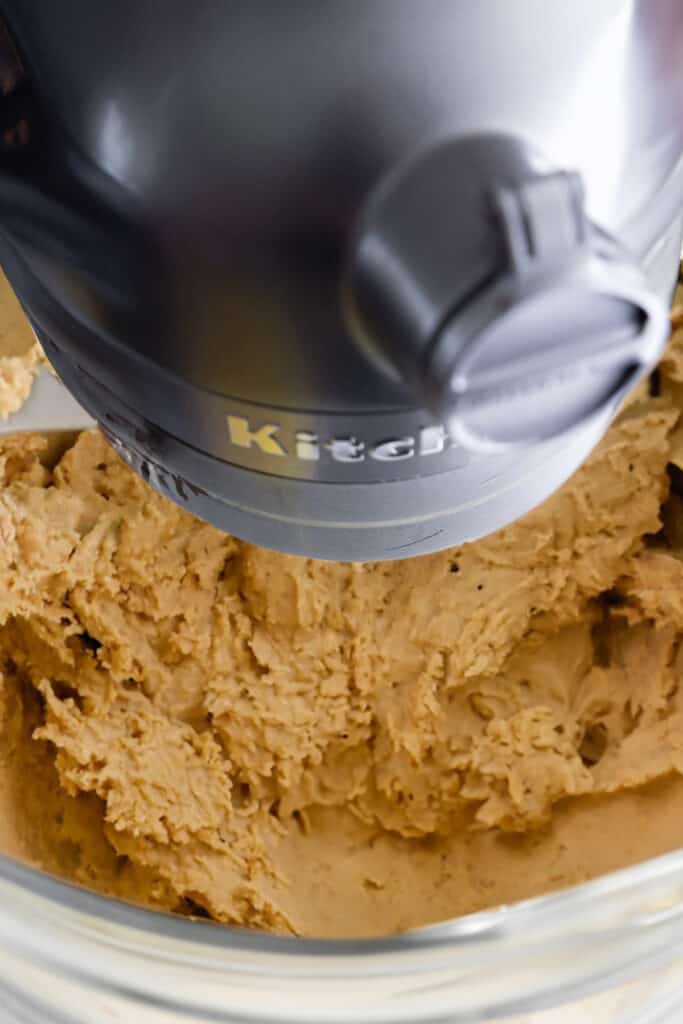
Add 1 cup (240 ml) of firmly packed light brown sugar, ¼ cup of dark brown sugar (also packed), ¼ cup of granulated sugar, ¾ cup (180 ml) of creamy peanut butter, and ½ cup (120 ml) of softened unsalted butter to a large bowl or stand mixer. Then, use an electric mixer to beat the mixture until it becomes light and fluffy before adding 1 large egg. Beat until the egg is fully incorporated. In a separate bowl, sift together 1¾ cups (420 ml) of all-purpose flour, ½ teaspoon (2.5 ml) of baking soda, ½ teaspoon (2.5 ml) of baking powder, and ½ teaspoon (2.5 ml) of salt. This ensures your dry ingredients are free of lumps. Gradually mix the sifted dry ingredients into the wet mixture. Continue mixing until all the ingredients are well combined and form a dough. Refrigerate the dough for at least 1 hour to firm it up, ensuring that your peanut butter blossoms maintain their shape while baking. Cold dough is also more manageable for portioning and rolling.
Forming The Cookies
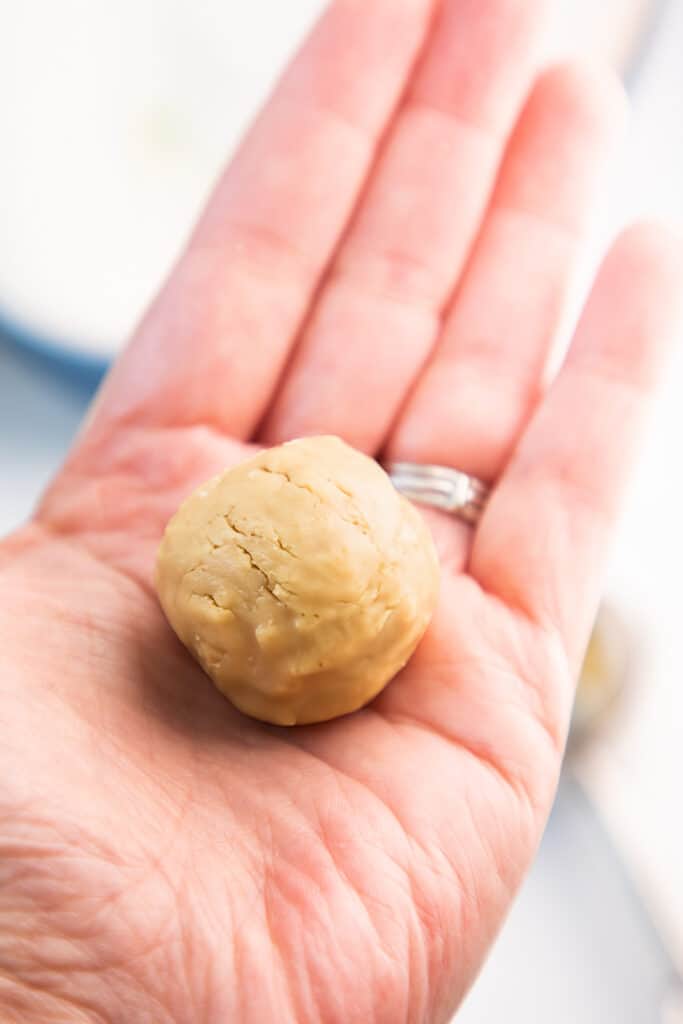
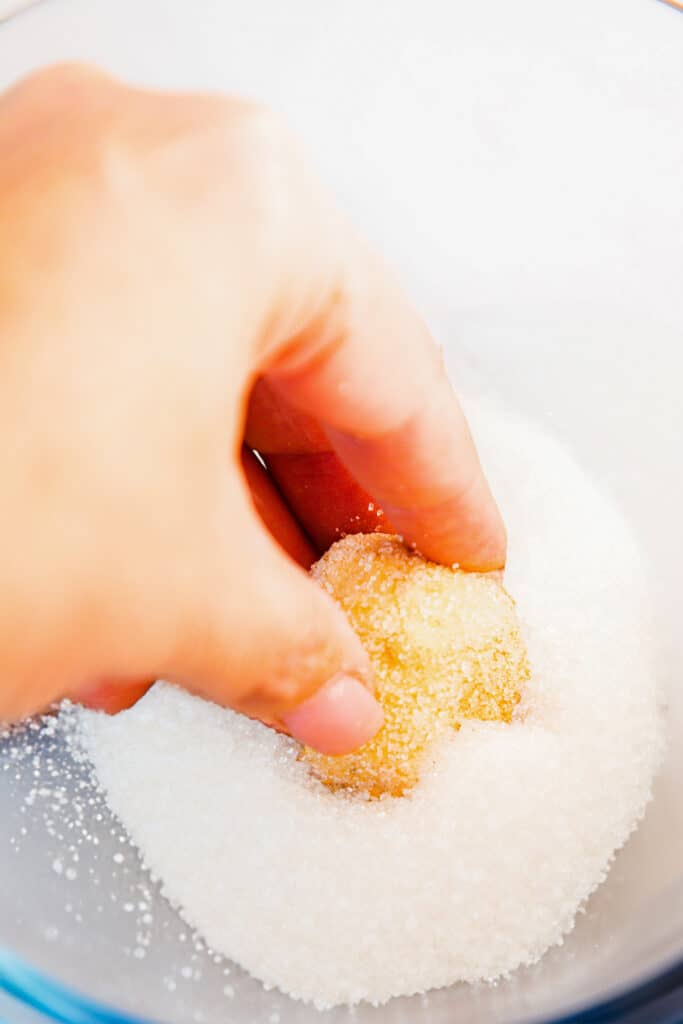
After the dough has been properly chilled, grab a portion that’s approximately the size of 1 heaping tablespoon. Roll this portion of dough between your palms using gentle, even pressure. This technique will form a smooth and round ball. Then, coat each ball of dough evenly with granulated sugar.
Baking The Cookies
Place the sugar-coated dough balls onto your prepared baking sheet. Make sure to space them about 2 inches (5.08 cm) apart to allow room for the cookies to expand while baking. Slide the baking sheet into the oven and bake for 8 to 10 minutes until the cookies are set, and their edges turn light golden brown.
Topping The Cookies
As soon as the cookies come out of the oven, gently press a Hershey’s Kiss into the center of each one. The warmth of the cookies will help the chocolate adhere. Place the Peanut Butter Kiss Blossom Cookies in the freezer once they’re topped to keep the kisses from melting too much. You only need to keep them in there until they’re cooled. If your freezer lacks the space for a baking sheet, transfer cookies onto a smaller tray or plate before placing them inside the freezer. Once your Peanut Butter Blossom Cookies are cooled, serve and enjoy! Freezing Instructions: To freeze the cookies, lay them in a single layer on a baking sheet and freeze until firm. Then, transfer them to an airtight container or freezer-safe bag with parchment paper between layers to prevent sticking. Label with the date and freeze for up to three months. When ready to enjoy, let them thaw at room temperature for about 30 minutes. Your cookies will taste as delicious as when freshly baked. Erren’s Kitchen is written and produced for informational intentions only. We are not certified nutritionists, and the nutritional information found on this site has not been assessed or authorized by a nutritionist or the FDA. The nutritional information found in our recipes is offered as an estimate and should not be considered a guarantee or fact. The estimated data is provided as a courtesy and calculated through a third-party online nutritional calculator, spoonacular API. Although we do our best to provide accurate nutritional information, these figures should be considered rough estimates. Many factors, such as brands or products purchased and the nutritional fluctuations that naturally occur in fresh produce, can alter the effectiveness of the nutritional information in any recipe. Furthermore, various online calculators provide different results depending on their particular algorithms and nutrition fact sources. To obtain the most precise nutritional information in a provided recipe, you should calculate the nutritional information with the exact ingredients you are using when preparing the recipe using your preferred nutrition calculator.