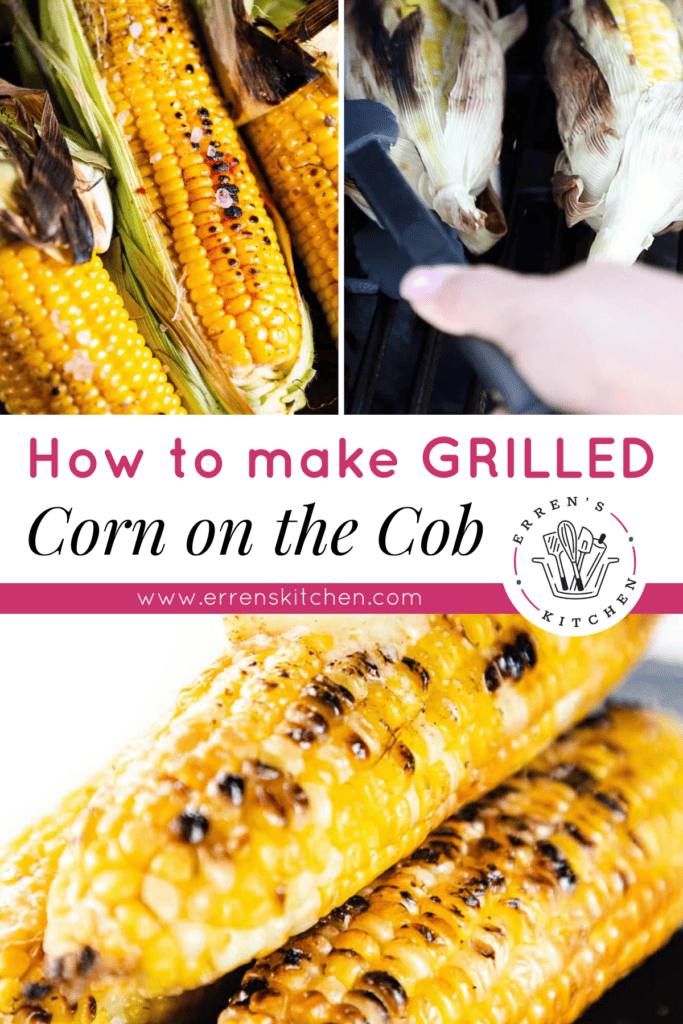
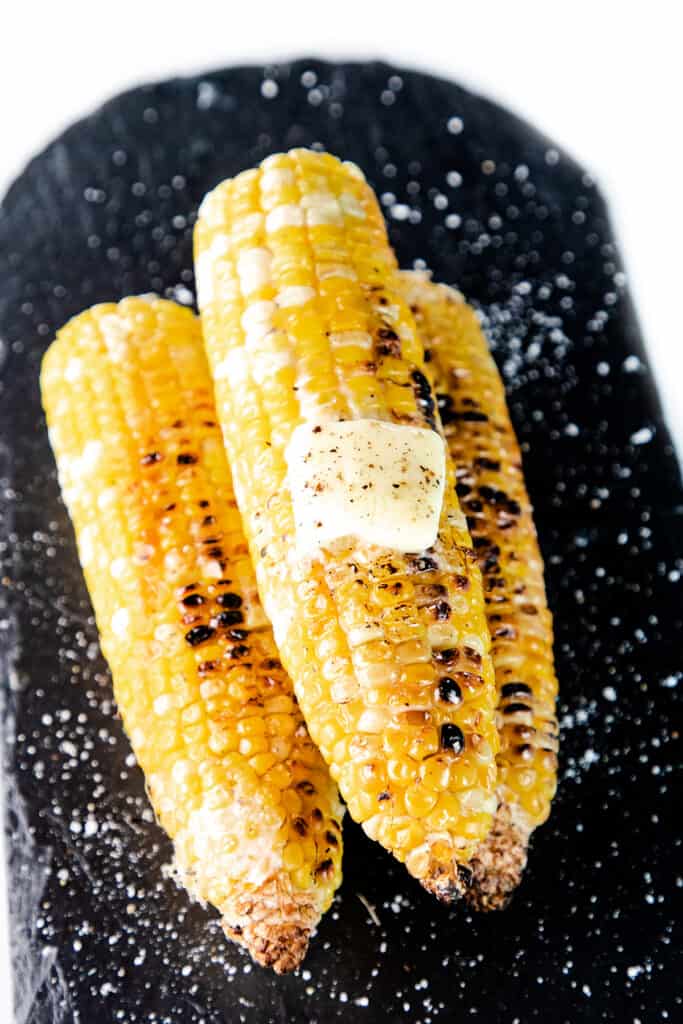
There’s something about grilled corn on the cob that just screams summer. Maybe it’s the sight of the butter and salt as it melts over the hot corn, or perhaps the smell of the barbeque fills the air. No matter what it is, grilled corn is a must-have for any summer meal! This guide will show you how to grill up some delicious corn on the cob directly on the grill, on the stove (for a charred effect), or grilled in foil with butter and seasoning. The foil method is excellent if you’re short on time or cooking for a large crowd. Use the table of contents below by clicking expand to jump to the sections you want simply.
How To Shuck Corn
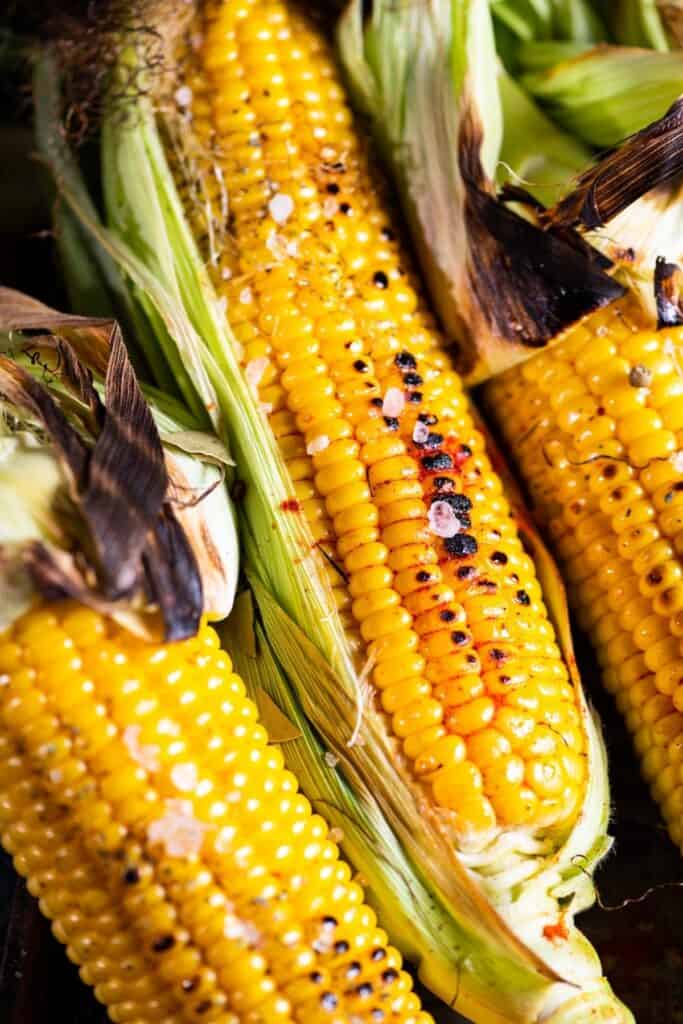
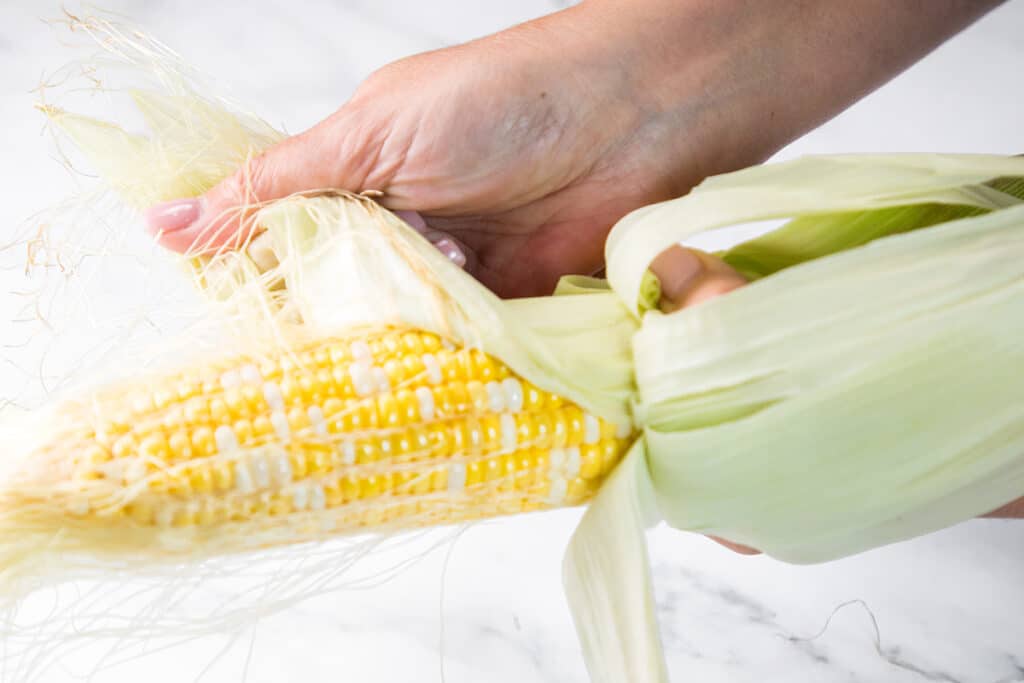
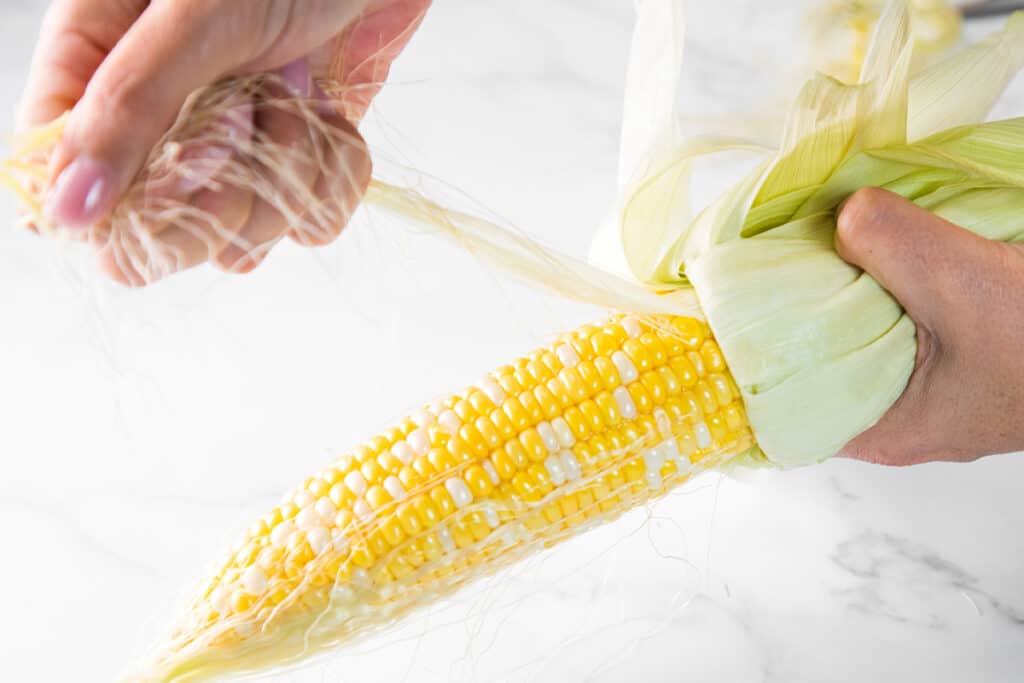
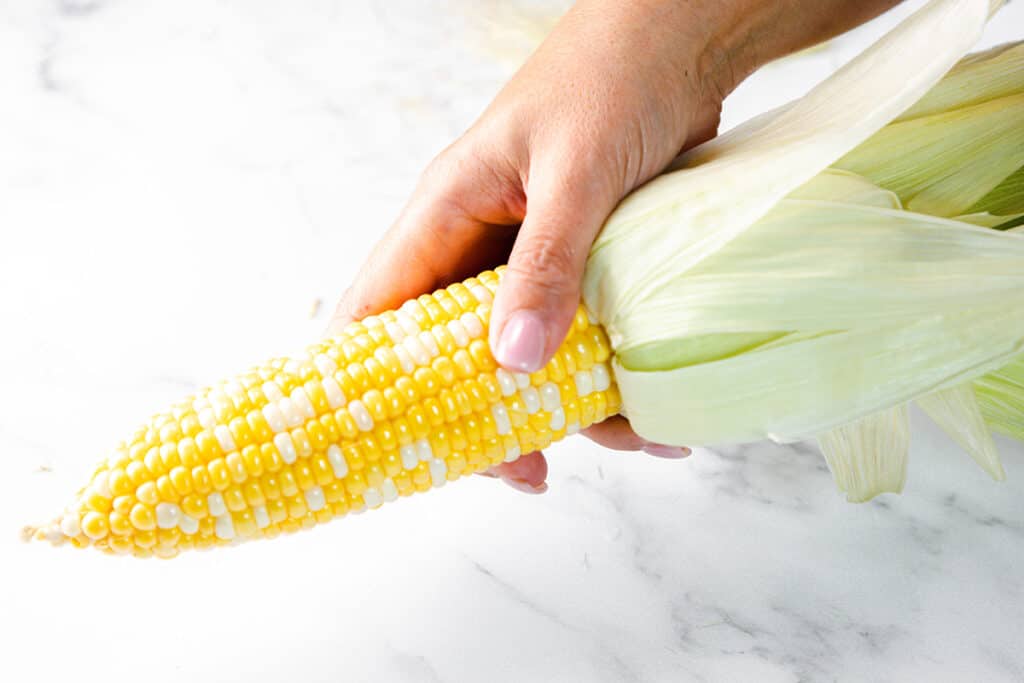
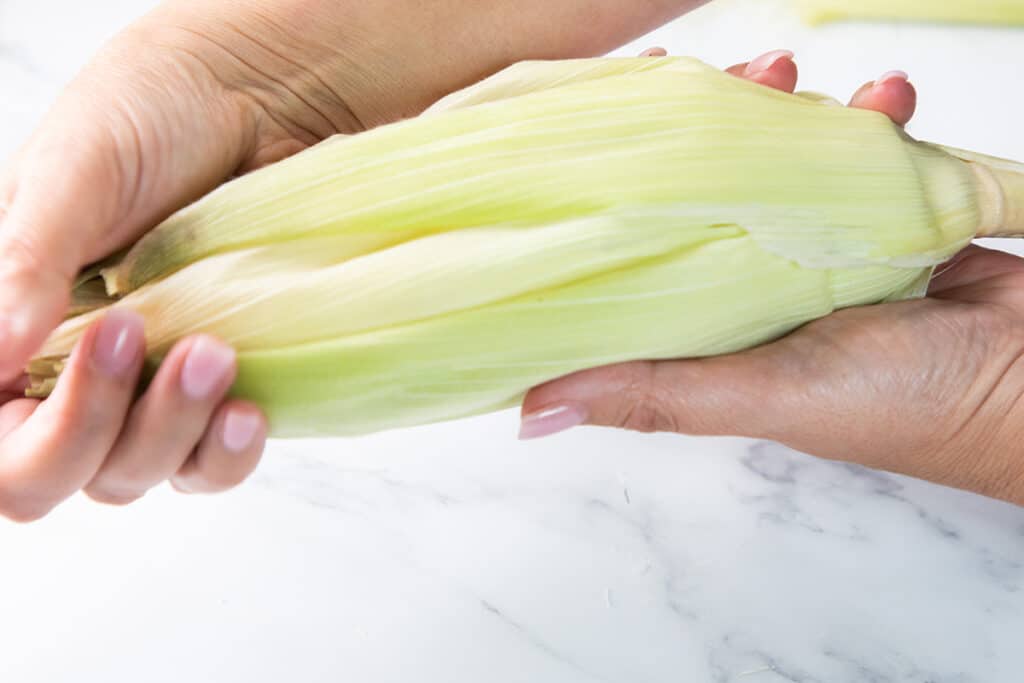
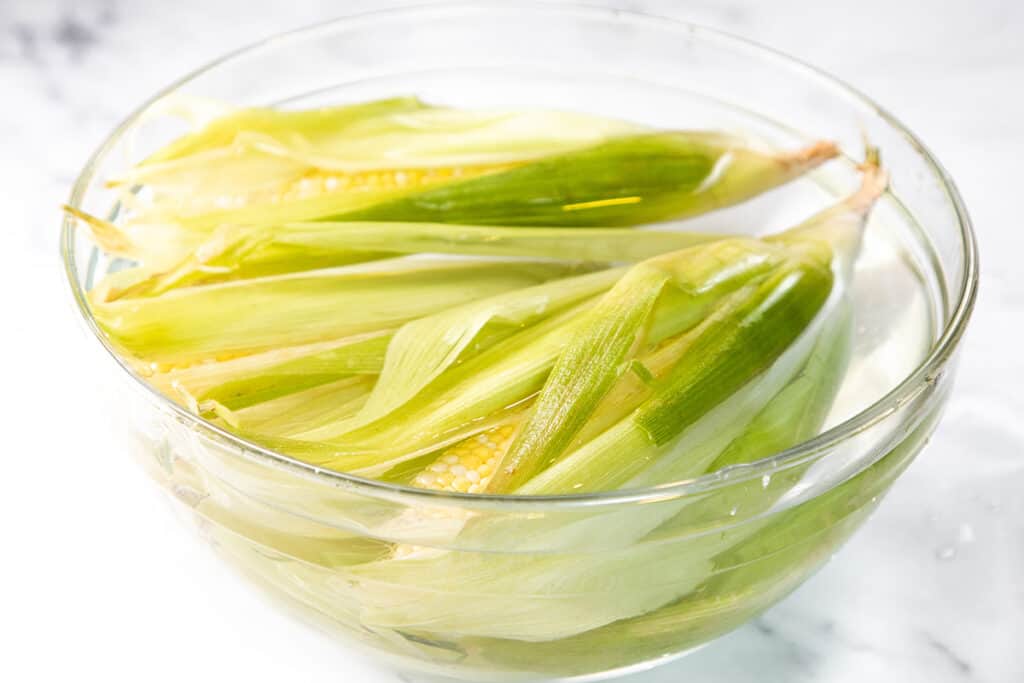
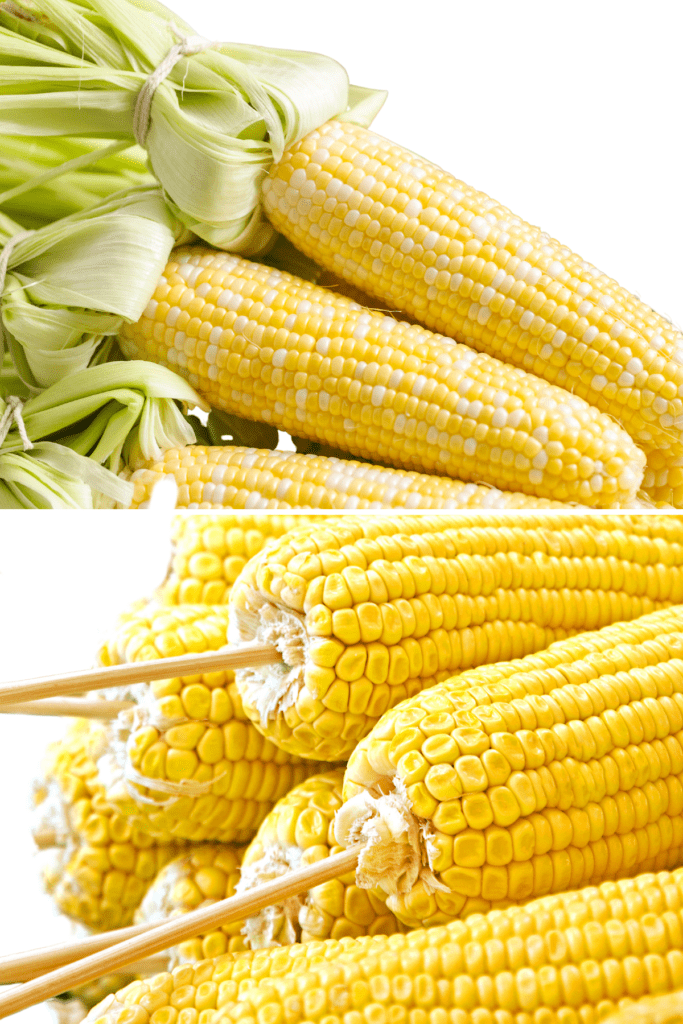
If you’re unfamiliar with shucking corn, don’t worry – it’s easy! Start by peeling back the husk. You can do this by hand or use a knife to help you. Avoid ears of corn that have brown or discolored leaves, as this is a sign that the corn is past its prime. To check if the corn is fresh, peel back the husk and look at the kernels. They should be plump and either milky white or vibrant in color. If they’re shriveled or have brown spots, put that ear of corn back and keep looking! Once the husk is off, remove the silks from the corn. Remove the long threads of silk attached to the kernels. Pull them off, and then rub your hand over the ear of corn to remove any remnants. The silks will come right off; if stubborn ones refuse to budge, you can use scissors to snip them away. For grilled corn, you can either remove the husk altogether or leave it on to protect some of the corn from charring. If you leave the husk on, pull it back up to cover the kernels. Now that you know how to select, soak and shuck your corn, it’s time to fire up the grill!
Step By Step Instructions
Grilling On The Grill
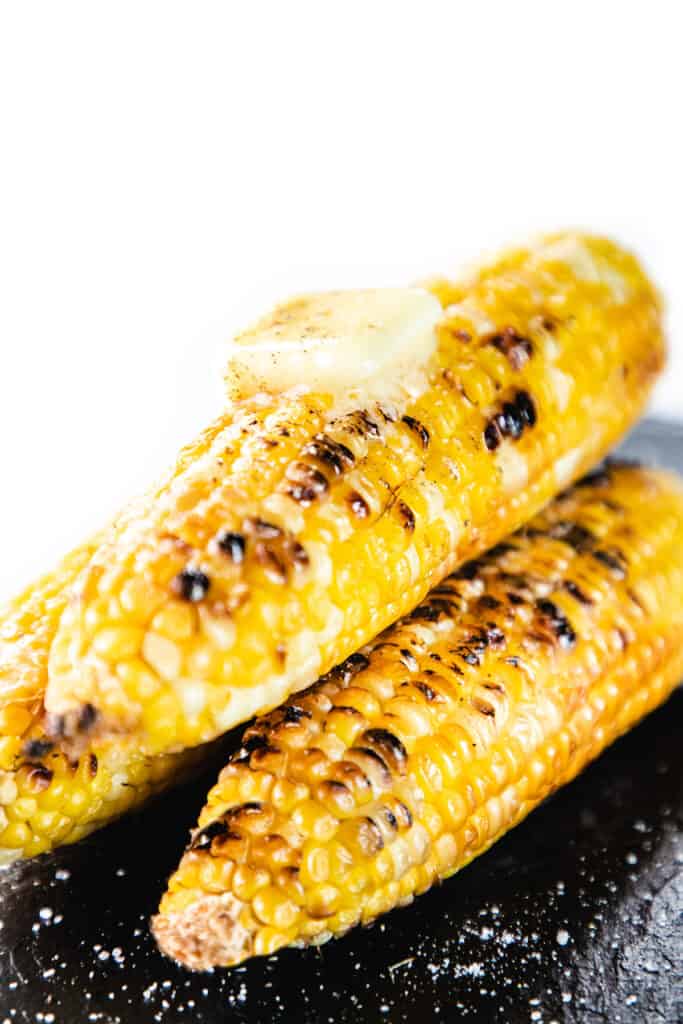
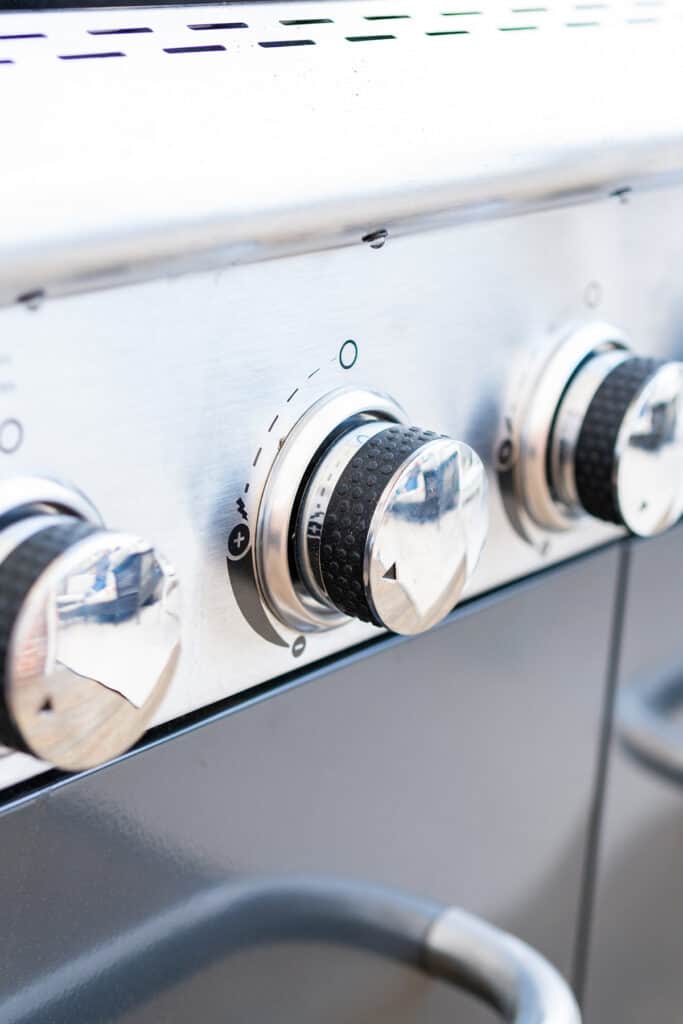
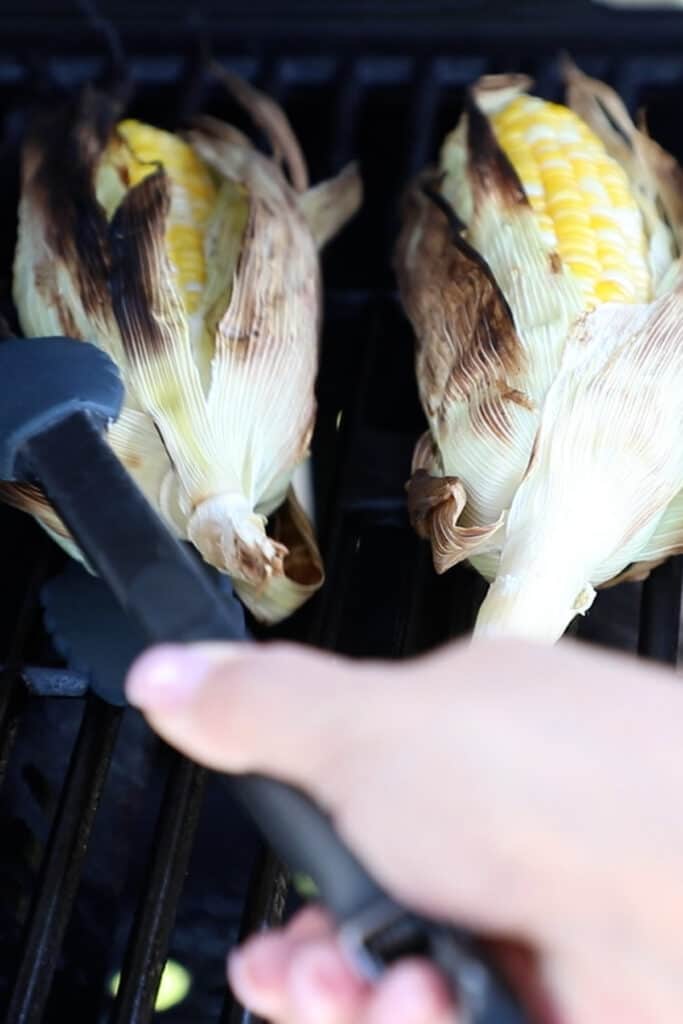
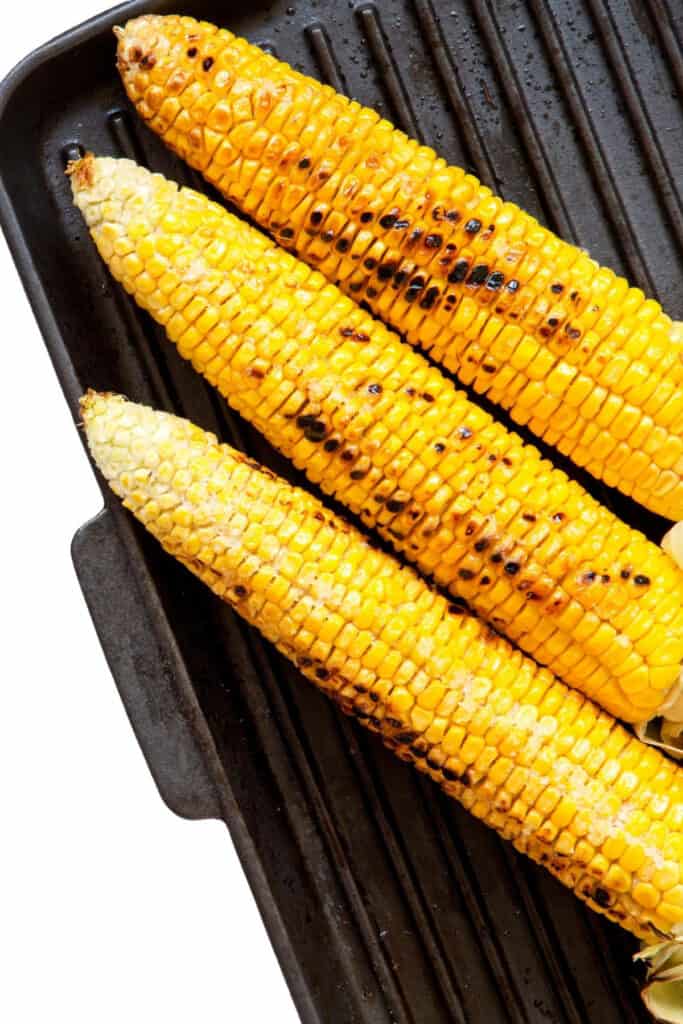
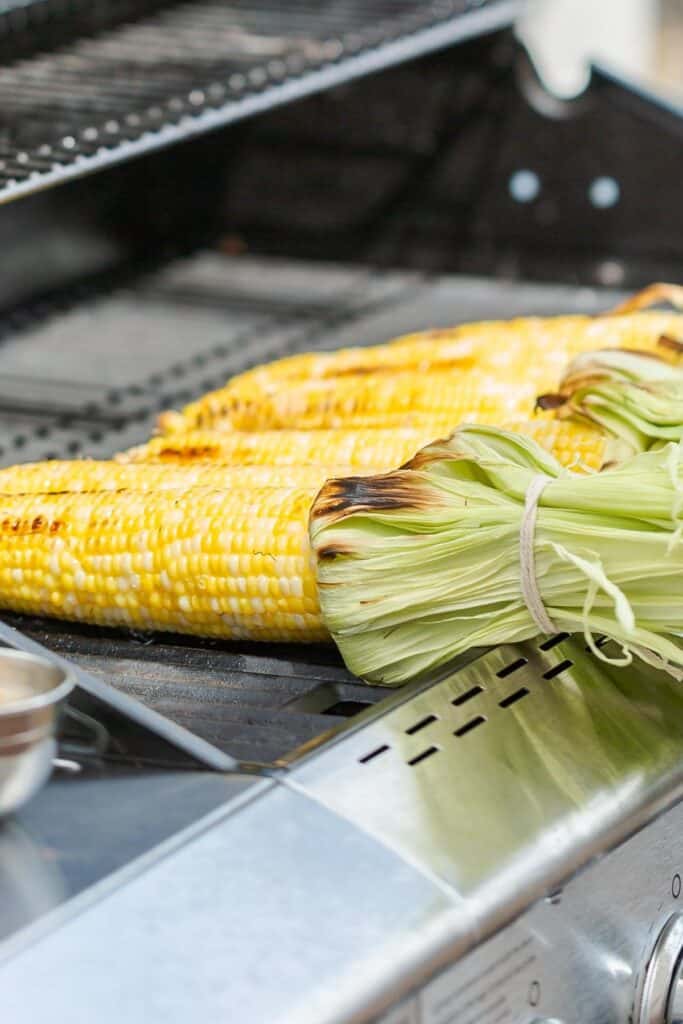
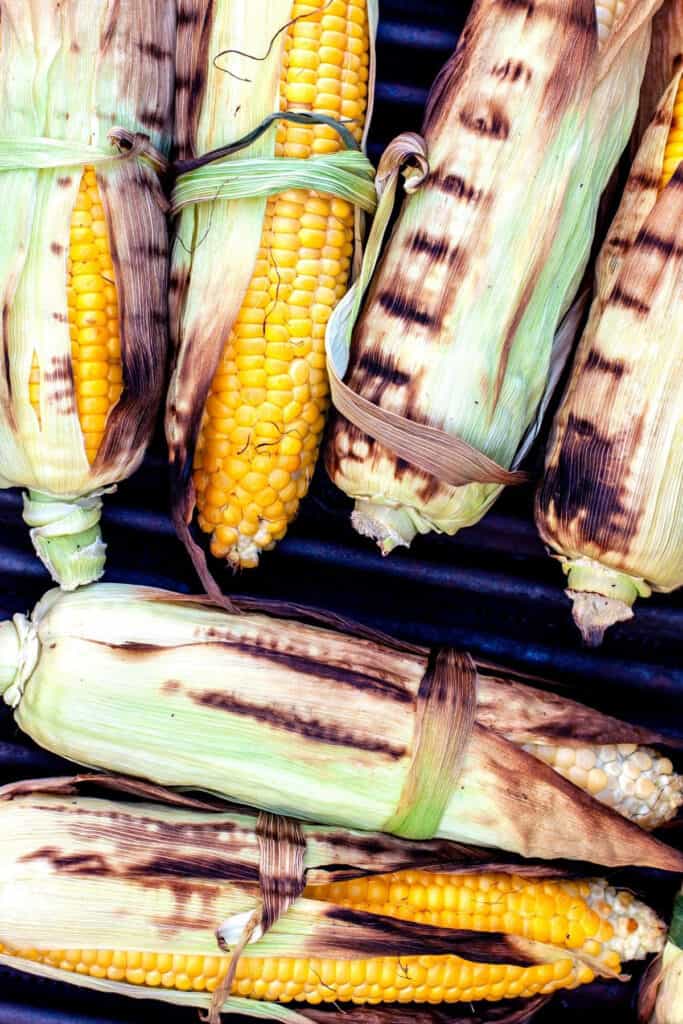
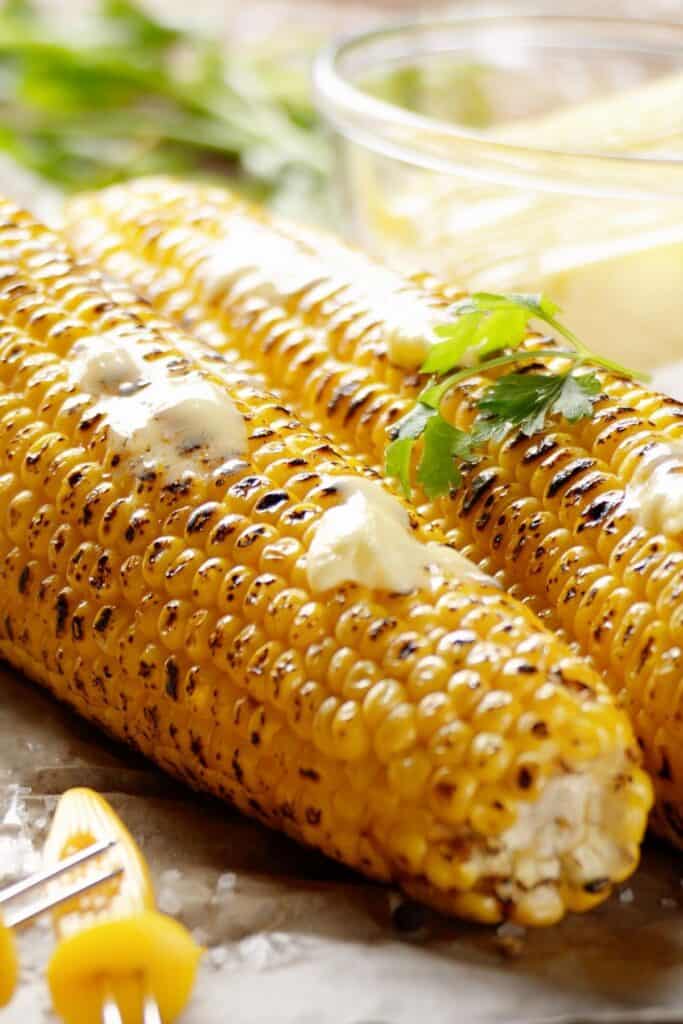
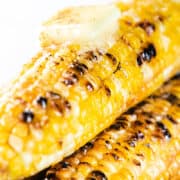
Preheat your grill to medium-high heat (375 to 400°F or 190 to 204°C). While the grill is heating up, go ahead and prep your corn. If you’re pre-soaking, drain the corn and give it a good shake to remove any excess water. Place the ears of corn on the grill, close the grill, and cook for 15-20 minutes, turning every few minutes to ensure that all sides get evenly cooked. For some charring on your corn, just leave some corn exposed to get that nutty flavor.
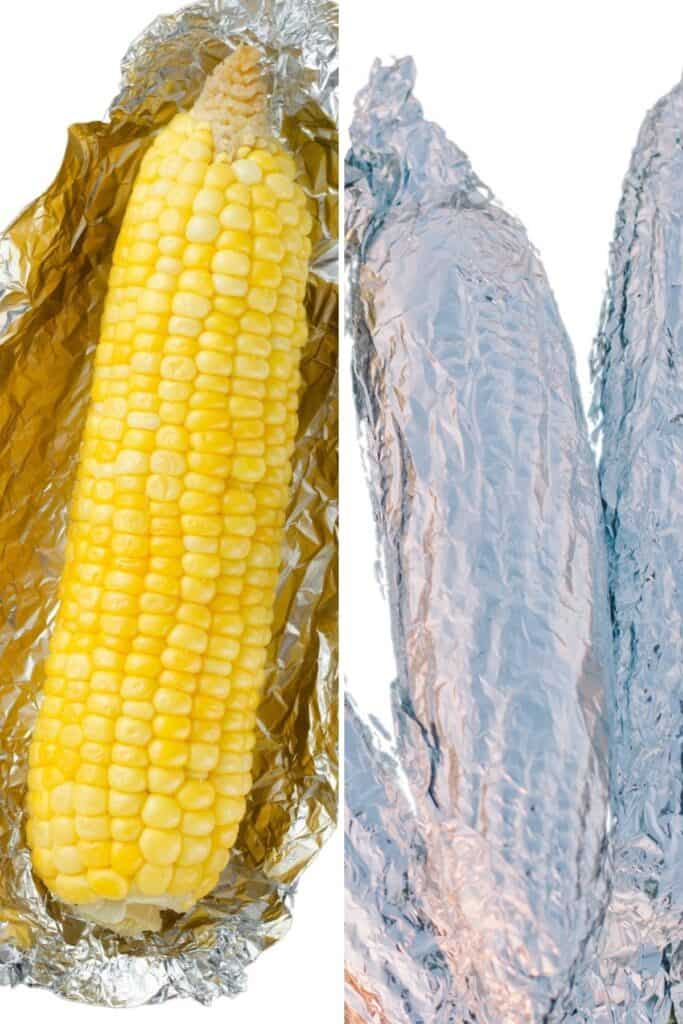
Grilling Corn in Foil
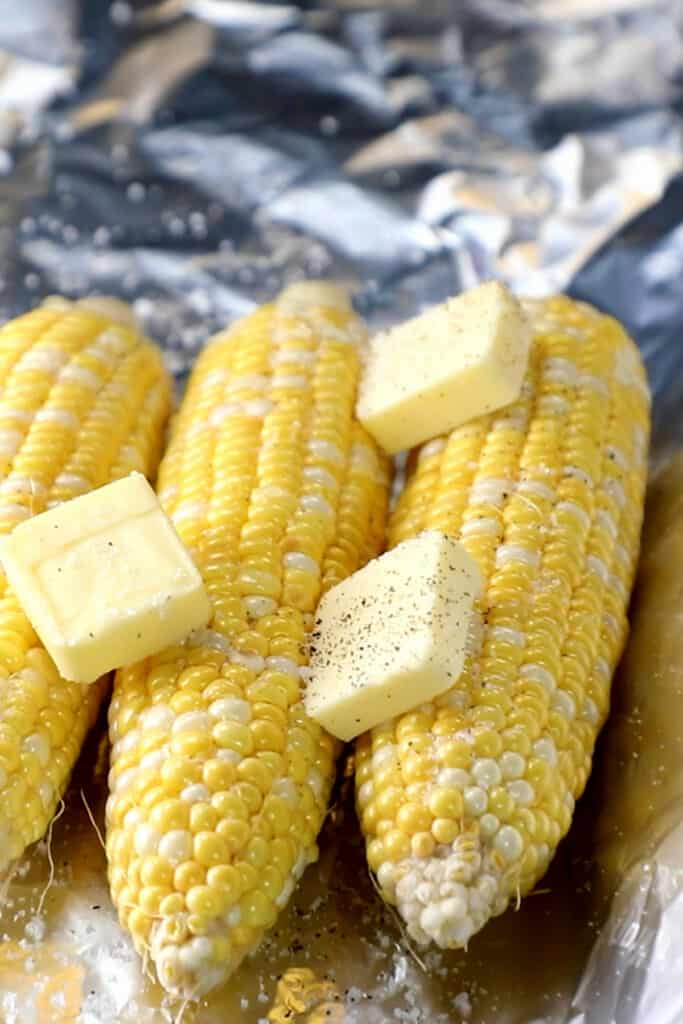
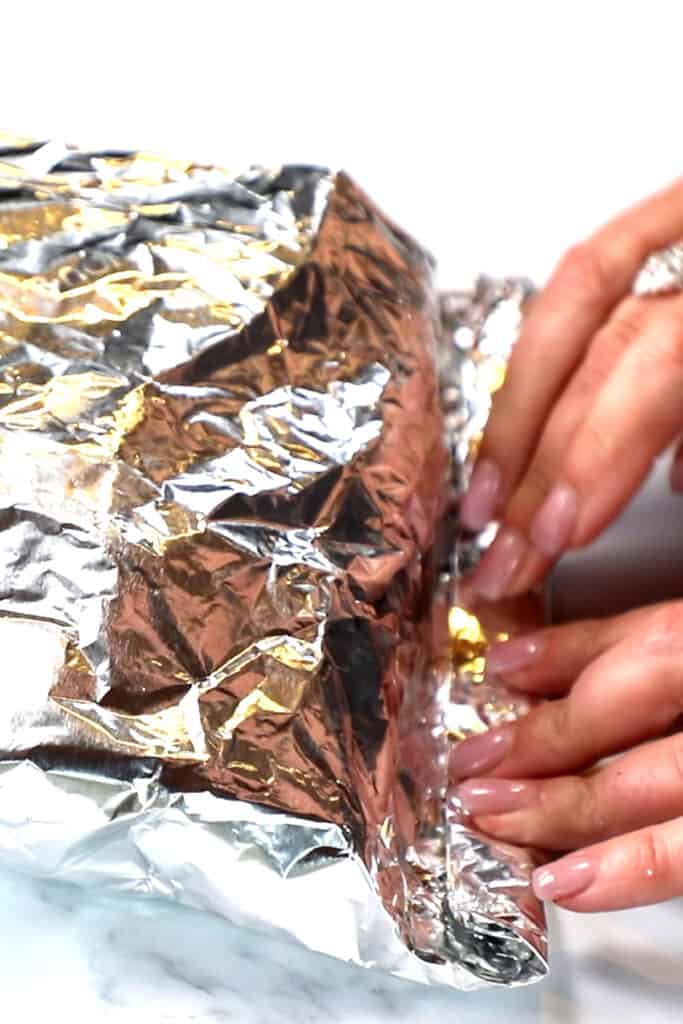
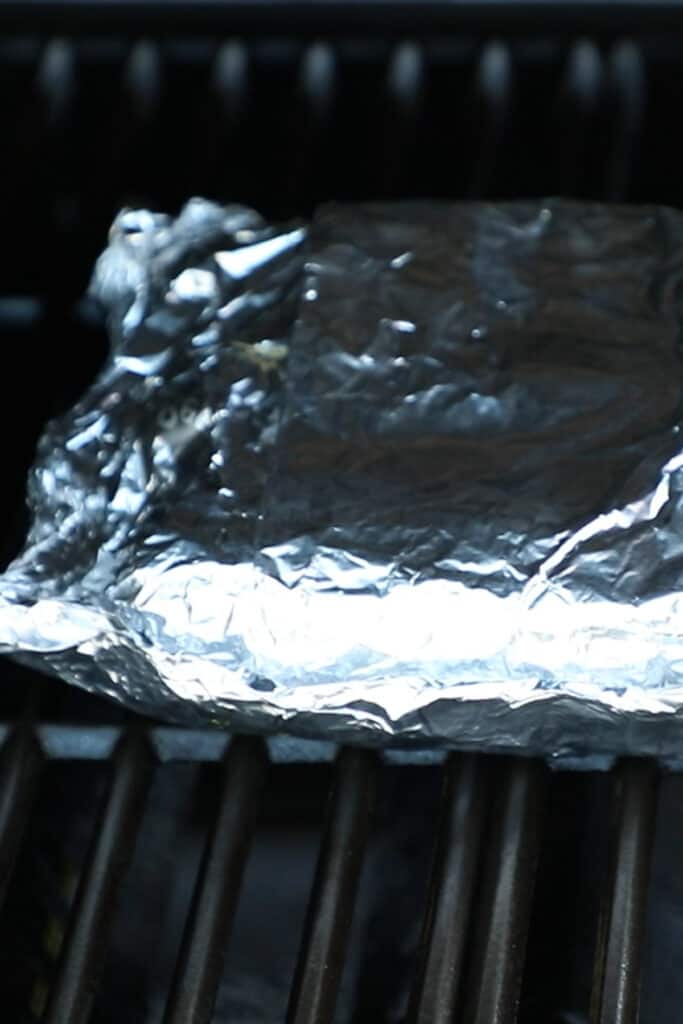
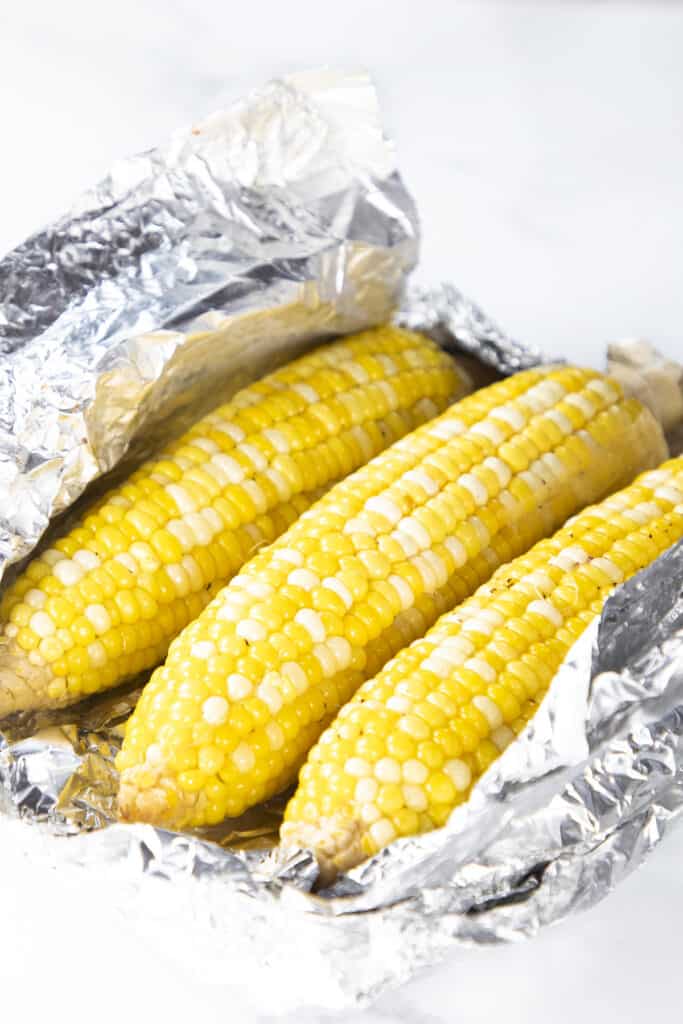
If you’re looking for an even quicker way to grill corn, try grilling it in foil! This is a great method if you’re feeding a crowd as it won’t require flipping, and it cooks with the butter for easy serving. To grill corn in foil, simply place the ears of corn on a large sheet of foil. Add butter, salt, and any other seasonings you like. Then, fold up the foil so it’s sealed around the corn. You can wrap the corn individually so guests can grab what they want or in groups of several ears. When placed on the grill, the foil packet acts as a steamer, and the butter and seasoning will create their sauce.Place the foil packet on the grill, close it, and cook for 15-20 minutes, or until the kernels are cooked through. To Test For Doneness – Pull back the foil to look at the corn. The kernels should look plump similar to being boiled or steamed. You can also use a knife to pierce one of the kernels. If the knife slides right in, it’s ready! Give it a few more minutes on the grill if it’s still tough.
Grilling Corn on The Stove
If you don’t have a grill, or it’s not grilling weather, you can still make this recipe! Just heat a grill pan on the stove over medium-high heat. Cook the corn in the same way as directed in the recipe, turning every few minutes until all sides are evenly charred.
Serving
Cook the corn in the same way as directed in the recipe, turning every few minutes until all sides are evenly charred. There you have it – everything you need to know about grilling up some delicious corn on the cob! So what are you waiting for? Fire up your grill and get cooking! Your taste buds will thank you!
Corn Grilling Hacks
For Easy Flipping
To make flipping your corn super simple, tie your husk back (to use as a handle or push a dowel through the bottom. Then place them on the edge of the grill. When you’re ready to turn, you can easily grab the handle you made for yourself and flip!
Keeping Husks In Place
To keep your husks in place, remove a piece of husk, cut it into strips and use it to tie the husks to the corn. This method will help keep them from catching fire and spreading ash around the grill.
Making Ahead
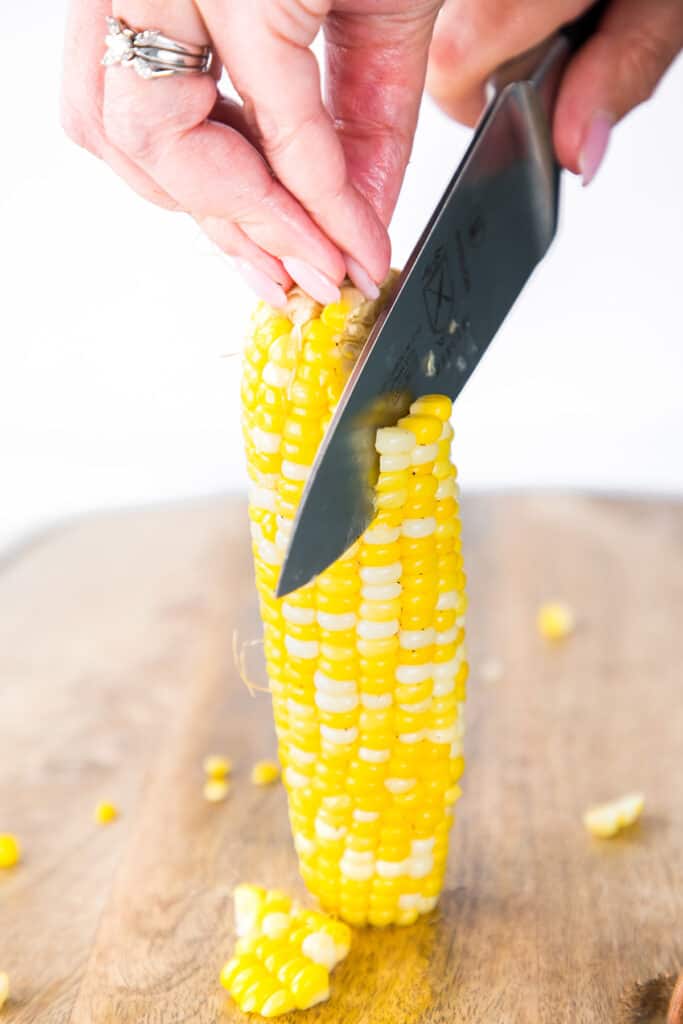
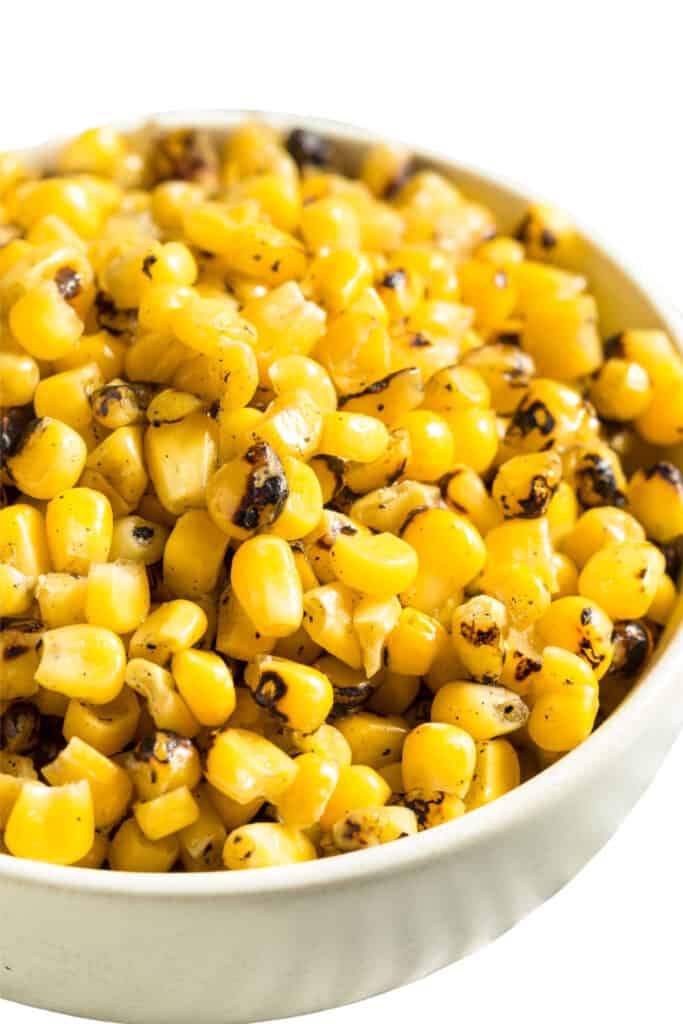
This recipe is best enjoyed freshly made. However, if you need to make it ahead of time, it can be done in several ways. To remove the kernels from corn on the cob, hold the cob in one hand and use a sharp knife to cut down the length of the cob. Be sure to angle your knife so you’re only cutting through the kernels, not the cob itself. Once you’ve cut through the kernels, they will fall right off.
On The Cob
Grilled corn on the cob can be stored in the fridge for up to three days. Simply place the ears of corn in a resealable bag or container and pop them in the fridge. When ready to enjoy, reheat on the grill or in the microwave until warmed through.
Off The Cob
Remove the corn from the cob and then store it in an airtight container for up to three days. When you’re ready to serve, reheat on the stove or in the microwave until warm. Erren’s Kitchen is written and produced for informational intentions only. We are not certified nutritionists, and the nutritional information found on this site has not been assessed or authorized by a nutritionist or the FDA. The nutritional information found in our recipes is offered as an estimate and should not be considered a guarantee or fact. The estimated data is provided as a courtesy and calculated through a third-party online nutritional calculator, spoonacular API. Although we do our best to provide accurate nutritional information, these figures should be considered rough estimates. Many factors, such as brands or products purchased and the nutritional fluctuations that naturally occur in fresh produce, can alter the effectiveness of the nutritional information in any recipe. Furthermore, various online calculators provide different results depending on their particular algorithms and nutrition fact sources. To obtain the most precise nutritional information in a provided recipe, you should calculate the nutritional information with the exact ingredients you are using when preparing the recipe using your preferred nutrition calculator.