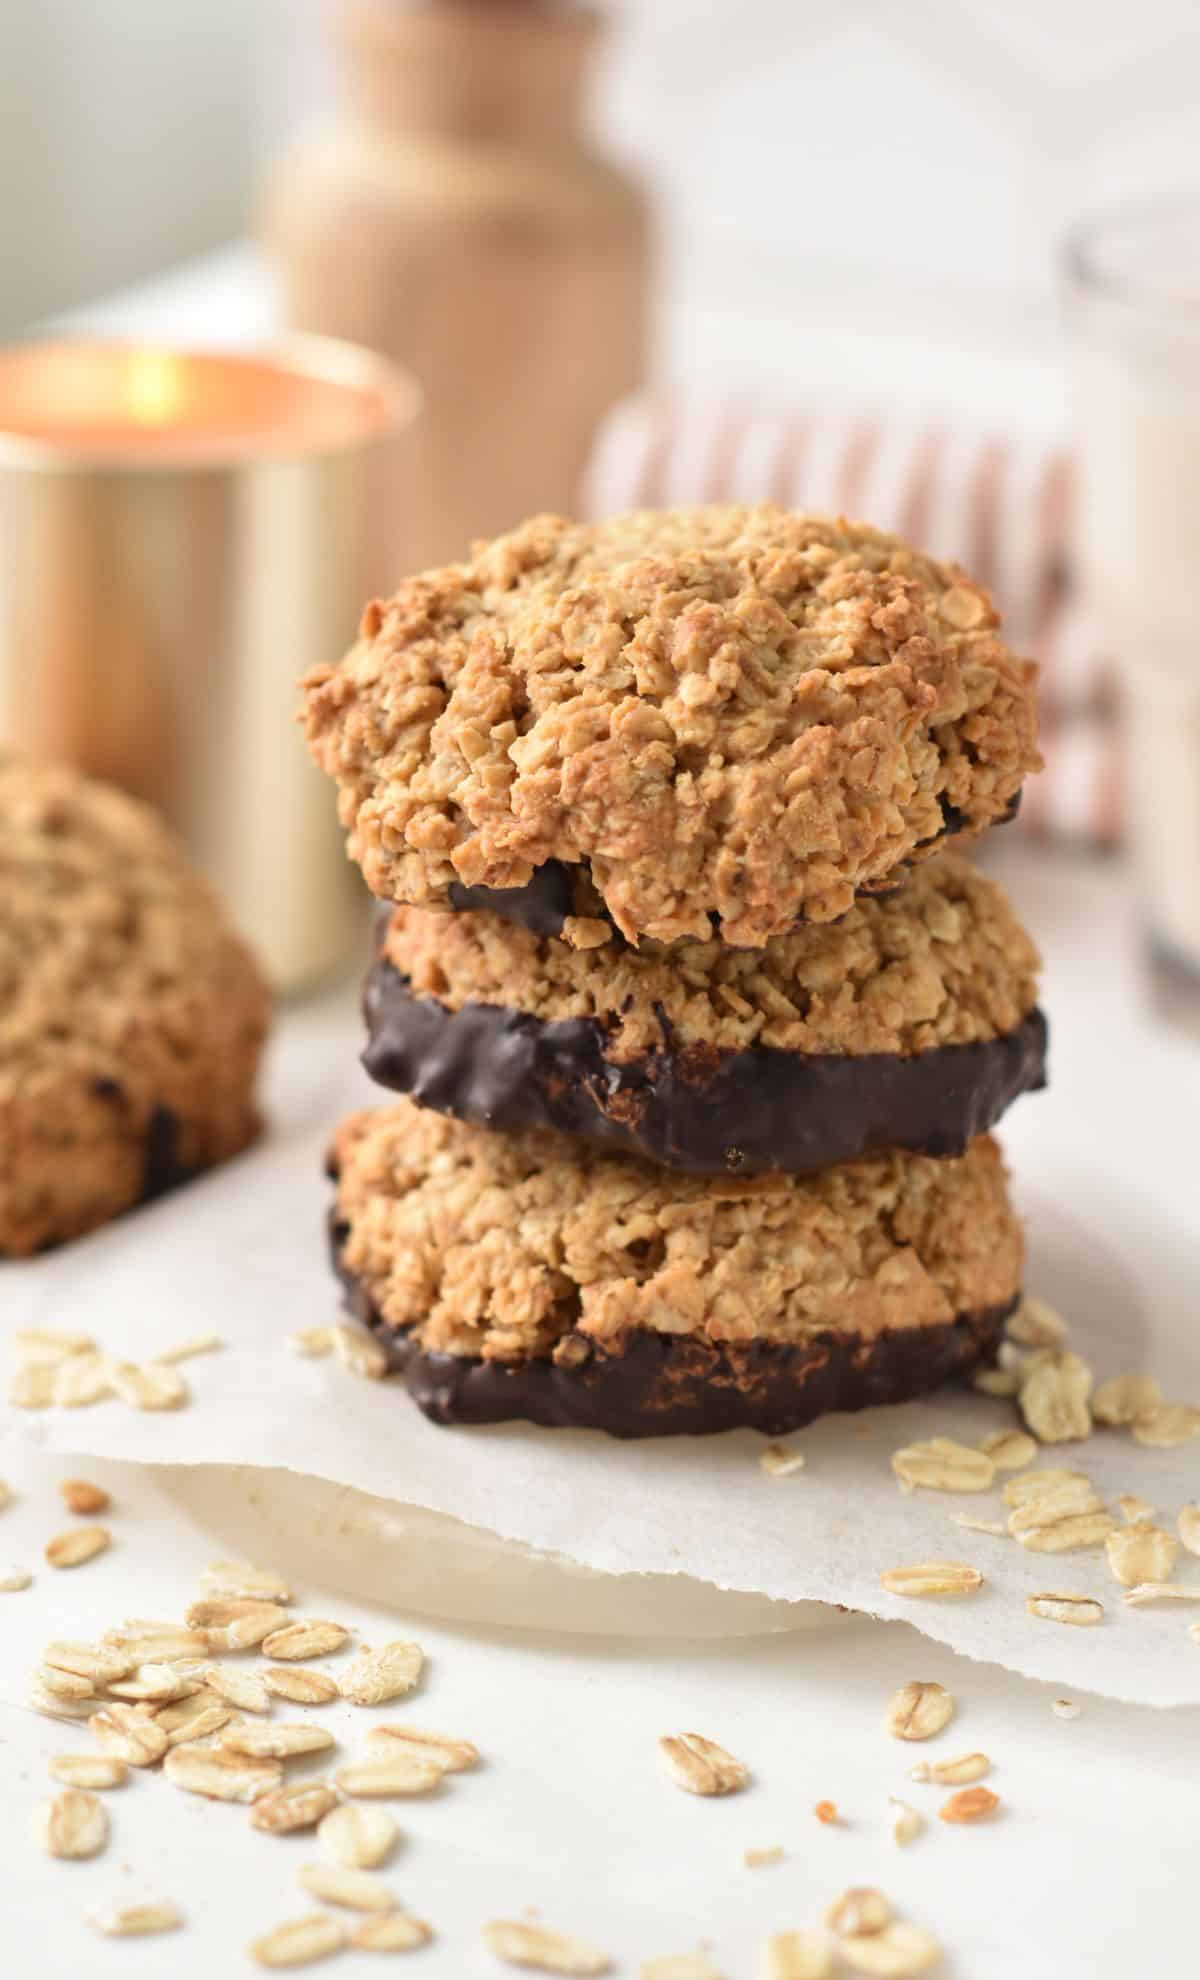
I love my banana peanut butter oatmeal cookies, but sometimes I love a crispy cookie that doesn’t taste like banana. These 3-ingredient oatmeal cookies taste like thick digestive cookies. They are crunchy, crumbly, a bit on the dry side, but the kind of breakfast cookies that you will love to dip in a glass of oat milk.
Ingredients and Substitutions
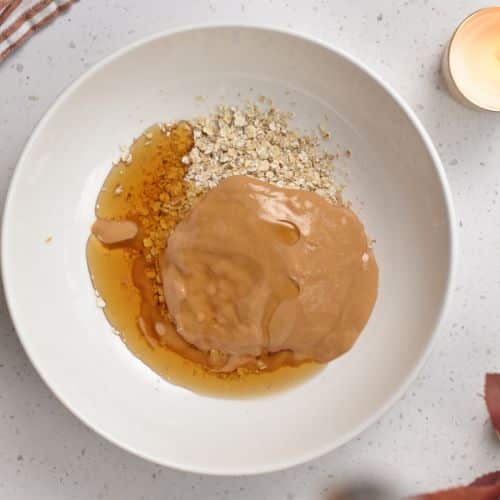
You only need 3 ingredients to make the cookie dough. This recipe is very versatile, so you can then incorporate any add-ins you like.
Quick Oats – Quick oats are essential for the right texture, as they are finer than rolled oats and absorb liquid better. If using rolled oats, you’ll need to pulse them briefly in a food processor to make them more suitable for this recipe. Avoid using them whole, as they may make the cookies too dry. Certified gluten-free oats can also be used if needed. Maple Syrup – Maple syrup acts as both a sweetener and binder in the cookies. You can replace it with other liquid sweeteners like agave syrup, coconut nectar, or sugar-free liquid monk fruit. Maple syrup adds a subtle caramel flavor, which pairs nicely with peanut butter. Peanut Butter – Peanut butter provides fat, flavor, and moisture to the cookies. Make sure to use fresh, drippy peanut butter, as dry or old peanut butter won’t mix well. Almond butter, cashew butter, or sunflower seed butter can be used as alternatives if you prefer a different flavor or want a nut-free option.
How to Make 3-Ingredient Oatmeal Cookies
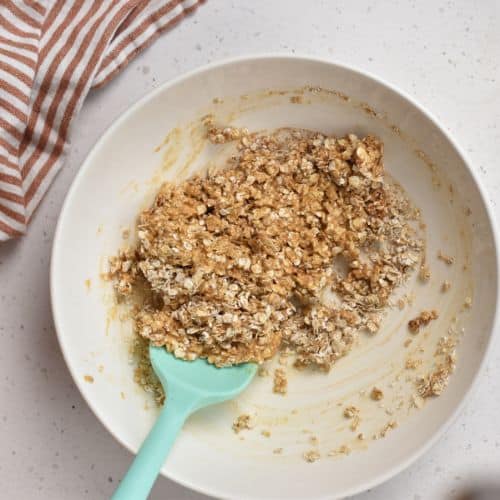
These cookies are really easy to make in just a few minutes. Here are the key steps.
Carine’s Baking Tips
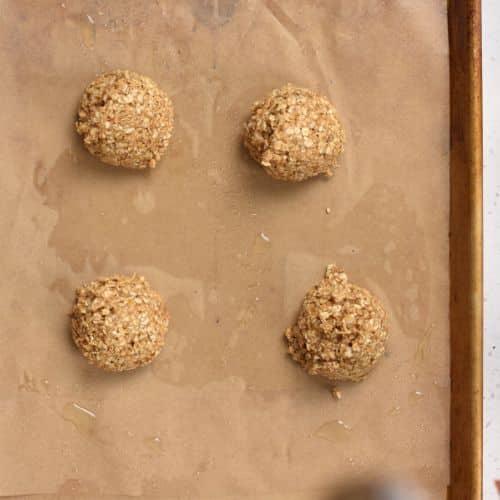
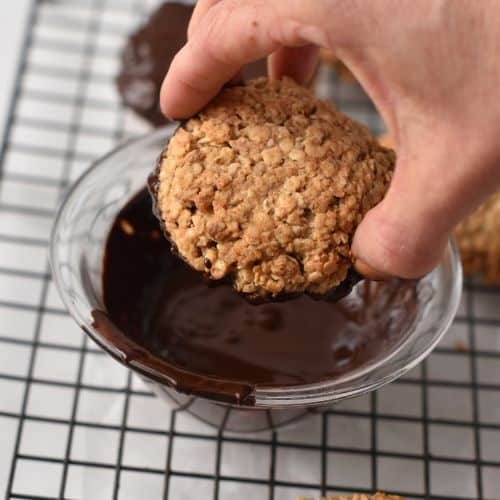
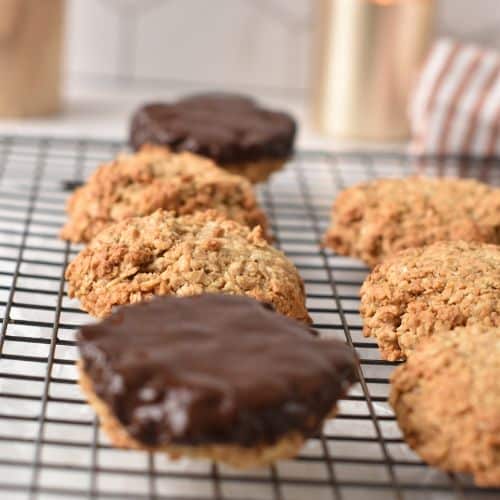
Choose the Right Oats – Quick oats are key to achieving the right consistency. They bind the ingredients together well without making the dough too dry. If you only have rolled oats, pulse them briefly in a food processor to create a coarse texture similar to quick oats. Fresh Peanut Butter – Make sure your peanut butter is fresh and drippy. Older, drier peanut butter won’t blend well and can result in crumbly cookies. If your peanut butter is too dry, try adding a bit of oil or extra maple syrup to help moisten the dough. Shape the Cookies – These cookies don’t spread much in the oven, so press them down to your desired thickness. If you prefer thicker cookies with a chewy center, shape them accordingly. For crispy cookies, flatten them more before baking. Baking Time – The baking time is key for the texture. For a crispier cookie, bake them closer to 18 minutes. If you prefer them softer in the center, check them around the 15-minute mark. Be sure to watch them closely, as ovens can vary. Cool Completely – Let the cookies cool for 5 minutes on the baking sheet to firm up before transferring them to a cooling rack. This helps them maintain their shape and prevents crumbling. Chocolate Shell – For an added treat, dip the cooled cookies in melted chocolate for a crisp chocolate coating. Simply melt dark chocolate (85% cocoa) with a teaspoon of coconut oil, dip the bottom of each cookie, and allow them to set in the freezer for 10 minutes.
Storage Tips
At Room Temperature – These cookies can be stored in an airtight container for up to 2 days. They’ll stay crisp and fresh at room temperature, making them perfect for a quick snack or breakfast. In the Fridge – If you prefer to store them in the fridge, they can last up to 4 days in an airtight container. Just be aware that they will harden in the fridge. To restore their softer texture, let them sit at room temperature for about an hour before eating. Freezing – You can also freeze the dough balls before baking. Simply shape the cookies, freeze them on a baking sheet until solid, then store them in a Ziploc bag. When ready to bake, no need to thaw—just bake them a few minutes longer.
More Oatmeal Cookie Recipes